
My rental home has an interesting layout. The kitchen door of the house is, by the blueprint, a side door. The front door is in the living room. However, the family who built the house was rather clever. The best view faces away from the road and driveway, so they positioned the house to purposefully allow the front door, window, and porch to face the view of the farmland with the lake and mountains in the distance. It’s a gorgeous view.
It also leaves me with two doors to decorate, as it means my kitchen door effectively acts as the front door in most situations. It opens onto the concrete and brick covered carport.
Carports have a nasty habit of collecting junk. We have a lot of junk on mine – and I was getting sick of seeing it every time I walked in or out of the house.
So I took on a carport-to-porch project.
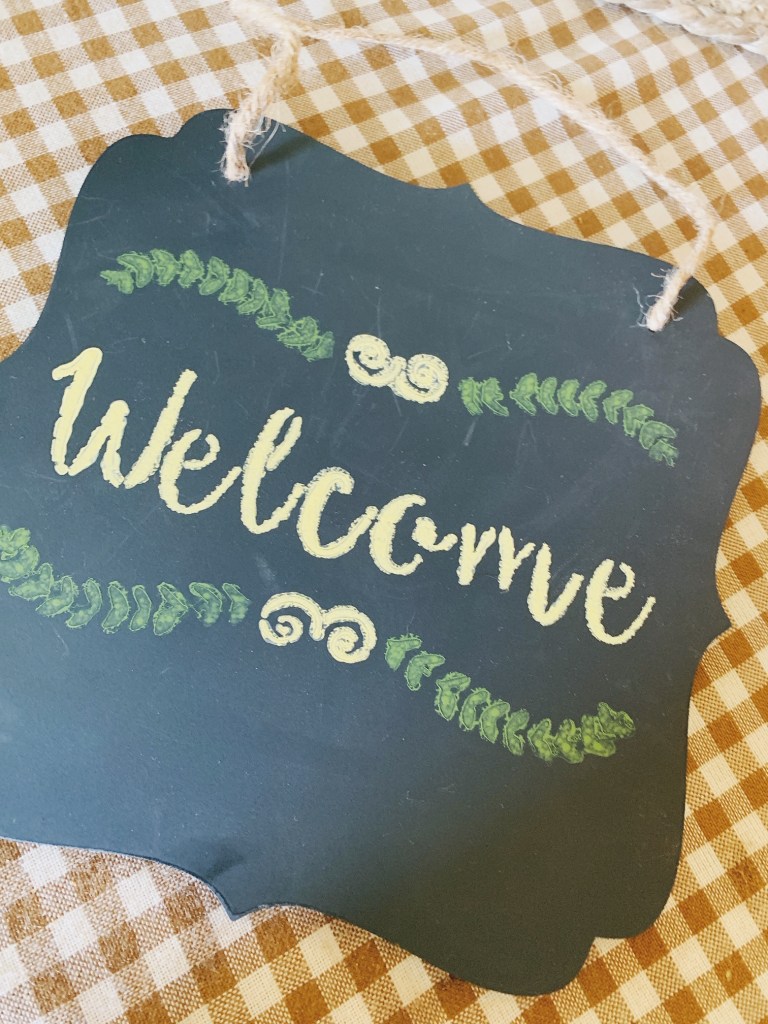
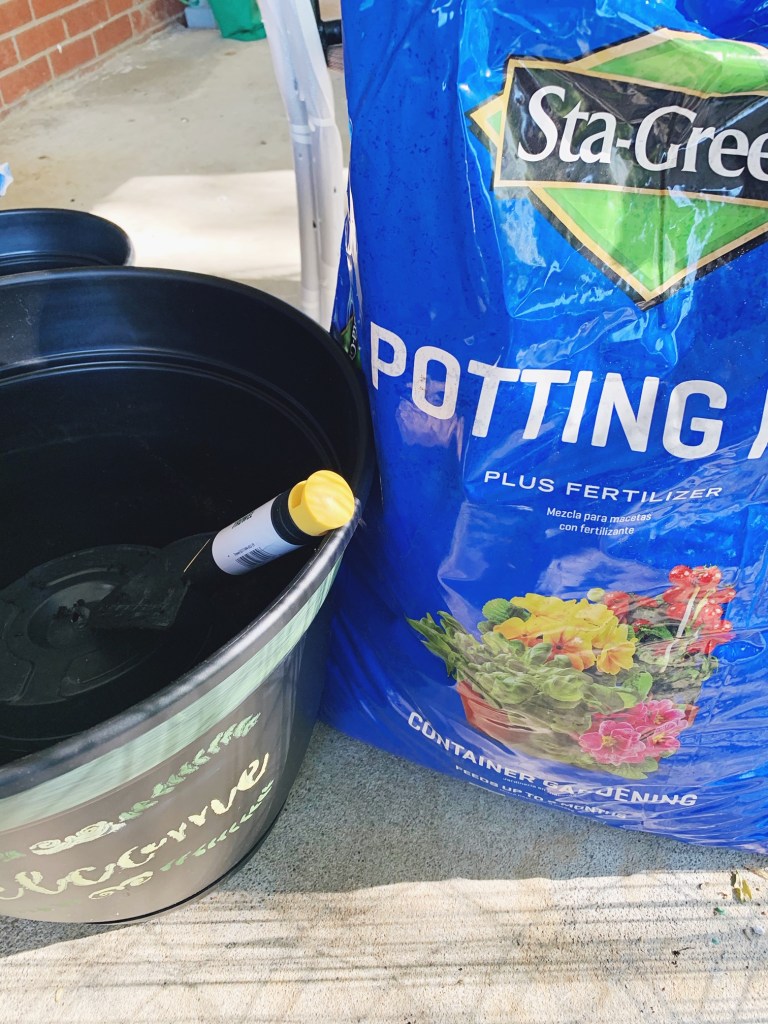
I bought 5 black plastic plant pots in various sizes (1 large, 1 medium, 1 small-medium, and 2 small), several shade-loving plants, a big bag of potting soil, and two outdoor chairs at Lowes. I also grabbed some supplies I already had at home – a plain black chalkboard sign, a sponge brush, a stencil, and some yellow and green craft paint.
I started by taping the stencil onto the chalkboard and sponge-painting it. I used just a tiny bit of paint and dabbed it on gently with lots of small taps to make the paint as even and controlled as possible. Once dry, I untaped the stencil and rinsed it off.

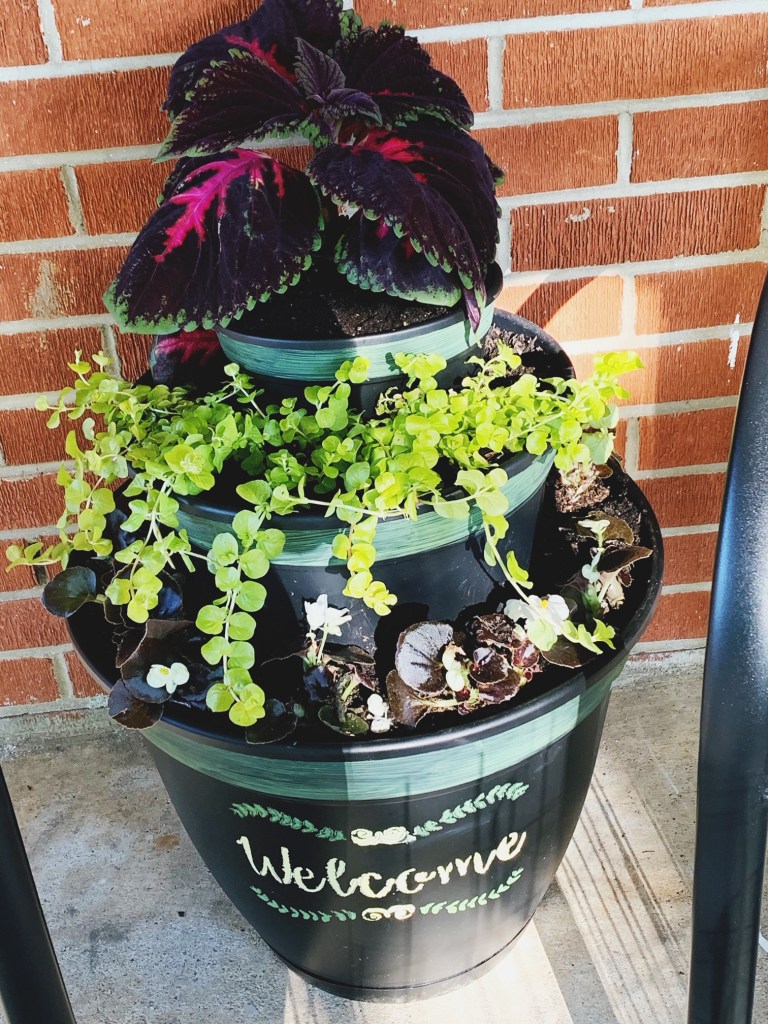
I then painted a green stripe around the top of three of the plastic pots – the largest, the medium, and one of the small pots. I really wanted the bright, cheerful colors to tie in, so I decided to use the same green and use the sponge brush to paint the wide, imperfect border, following the lip of the pots.
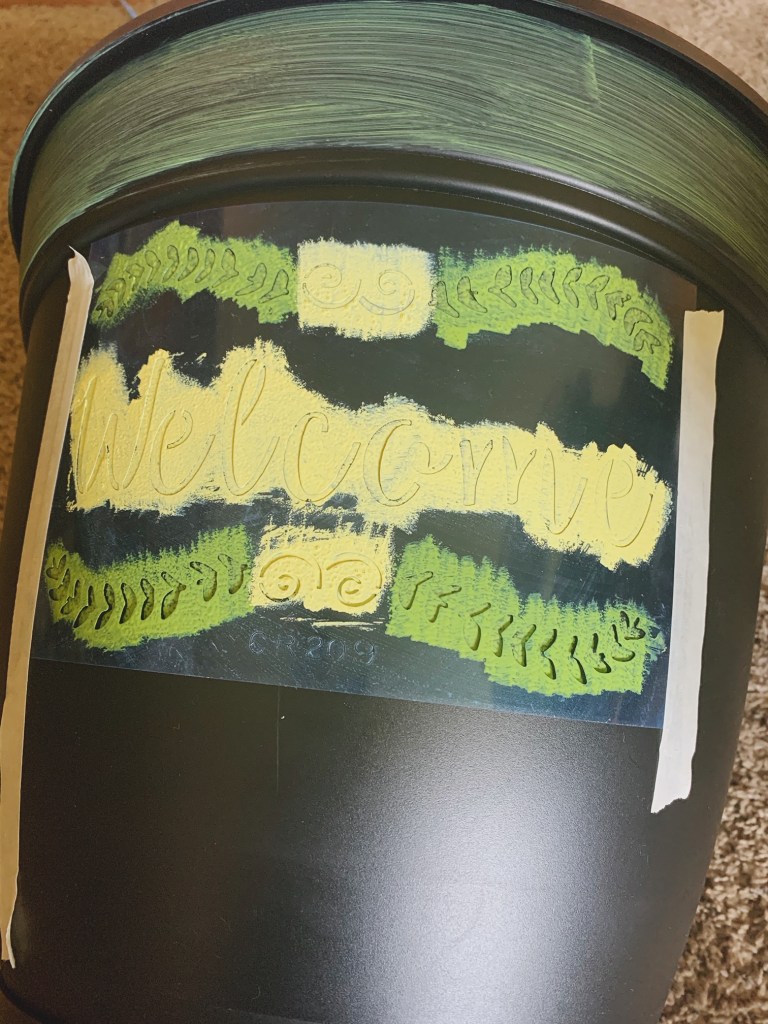
After the stripe was done drying, I used the same stencil on the largest of the pots. Because the pots are rounded, it is a little harder to position the stencil on their surface. I laid the pot down, so I could paint from above, and used the lip of the pot as my straight-edge guide to position the stencil. I did have to use extra tape and tape it down pretty securely. I used the same tapping method to paint on this stencil.
After drying, I pulled the stencil off and set it aside.
Once I was confident that everything was dry, I took the pots outside. Before filling the largest, I filled the small-medium one with dirt and flipped it upside down in the bottom of the largest pot; this became the base on which the next pot (the medium sized one) would sit. Before placing the medium pot, I began filling in with dirt around the base stacking pot. I did tap down the dirt several times to try and make a sturdy hold around the base pot. When stacking the medium one, I waited to plant until it was positioned – including using the small, non-painted pot, filled and upside down, inside as the base for the final small, painted pot.
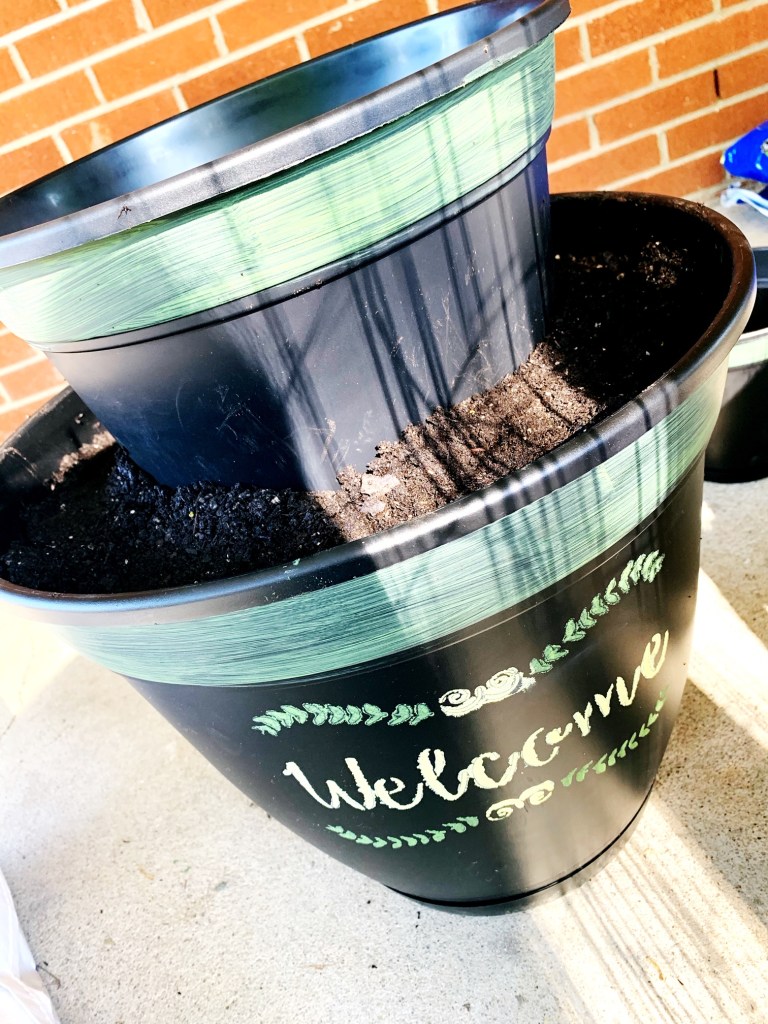
Because my carport is covered and away from direct sunlight, I chose shade-loving plants. Begonias, creeping jenny vines, and coleus each have a layer in my final stacked planting ensemble.
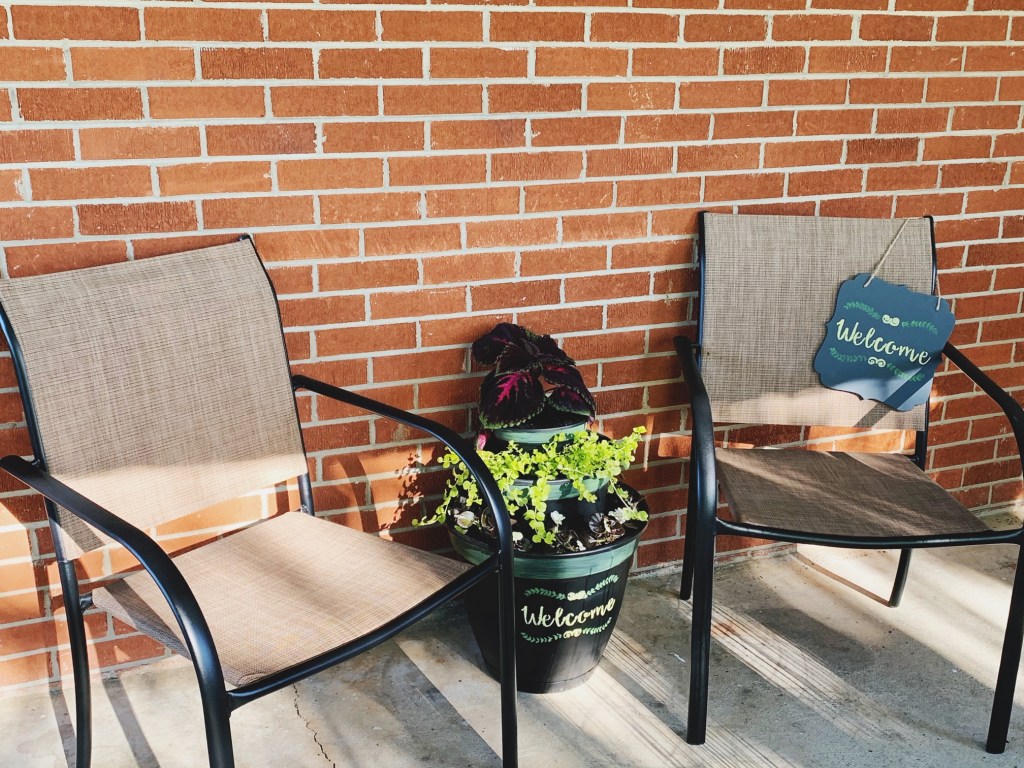
I placed these on the right side of my door with the matching sign and two outdoor chairs. These chairs were under $20 each at Lowes, by the way, so they were a deal for sure. The entire project, counting the dirt and plants used for this specific seating area cost under $100 – and that’s rounding up. So it can be done affordably if you’re just looking for a one-day project.
I plan to hang the sign, but didn’t have a brick hanger yet, and I also want to get some pillows that match the ones on my front porch bench (see here: front porch) for continuity in my connected outside spaces. I’m probably going to wait a little longer before I brave the inside of Walmart. I know everything’s opening up this weekend after COVID-19 closings and precautionary measures, so maybe I’ll run into the garden side of my favorite local Walmart to grab pillows and a brick hanger. (I’ve been doing pickup for my groceries and essentials during the stay home measures, and I LOVE it. I might continue using pickup in the future for my big shopping trip. SO EASY.)
Once I add the pillows and hang the sign, I’ll try to remember to post an update photo!
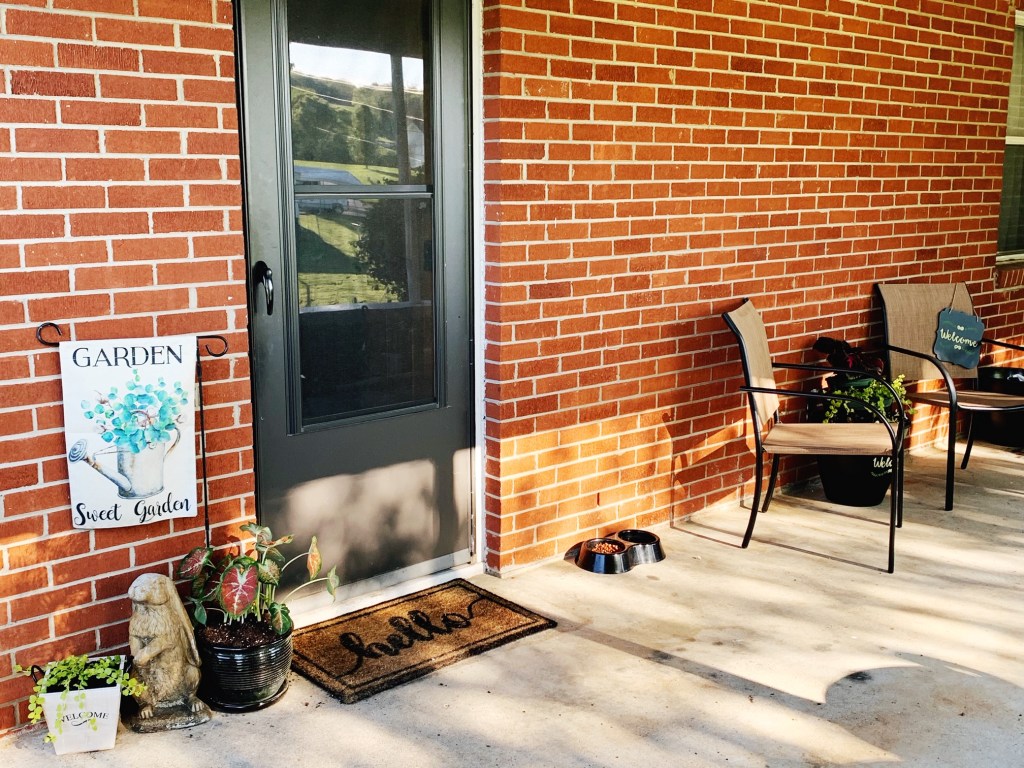
What do you think? I’m pleased with the way it makes my side door less cluttered and more inviting. Do you have a space that needs to feel a little more friendly and neat and a little less like a collect-all?

3 thoughts on “Porch Tiered Pots & Sign DIY”