One of my absolute favorite touches to any room in my house is a floral arrangement. I’m the kind of girl who buys herself flowers just because they bring me joy. Buying premade arrangements can be expensive – and ordering a custom arrangement even more so. If the grocery store has some cheap individual stems for sale – a bunch of daisies or lilies and some baby’s breath or greenery – I’ll often throw them in my cart as a “treat yo self” kind of purchase and then reward myself for a job well done after I put away all of the groceries by allowing myself some time to arrange.
Before I was divorced, when I owned a home with my then-husband, I found that I really loved to garden. Planting my own flowers, getting them to grow and bloom, and then using clippings in my home, was really therapeutic and rewarding. For me, it was a part of caring for my home, a personalized touch in my attempt to be a homemaker. While there are a lot of habits I hope I don’t carry forward from my first marriage, my desire to incorporate the products of my own green thumb in my home is one I do wish to maintain.
I’ve been very fortunate in my rental home. The woman who owned this house originally clearly loved it. The plants that are in the flower beds are gorgeous – a tall hydrangea shrub, two rose bushes, and a peony bush – and just required some trimming back this year. I was nervous – afraid that I’d trim them back too far – but just a few weeks later and the green new growth is popping in the flower beds!
I’ve also added a lot of my own plants in various planters around the house (see my Spring Décor Tour and my DIY Porch Tiered Pots and my Instagram account, @kate_witha_twang, for even more recent photos).
To bring some of that gorgeous green indoors, I’ve made several different arrangements. Other than being much more affordable than store-bought stems or florist arrangements, I also love the personal touch of having grown and cared for the plants myself.
Today, I’m going to break down how to turn your outdoor plants and blooms into a sweet arrangement for inside your home. The flowers and plants I use can be substituted, and I’ll list some suggestions along the way.
First and foremost – survey your yard. What do you have? You want 1-2 sources of greenery – “back drop plants” if you will. You’ll also want 1-3 types of blooms to fill out your arrangement and add some color.
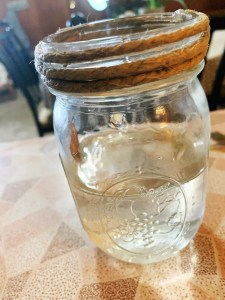
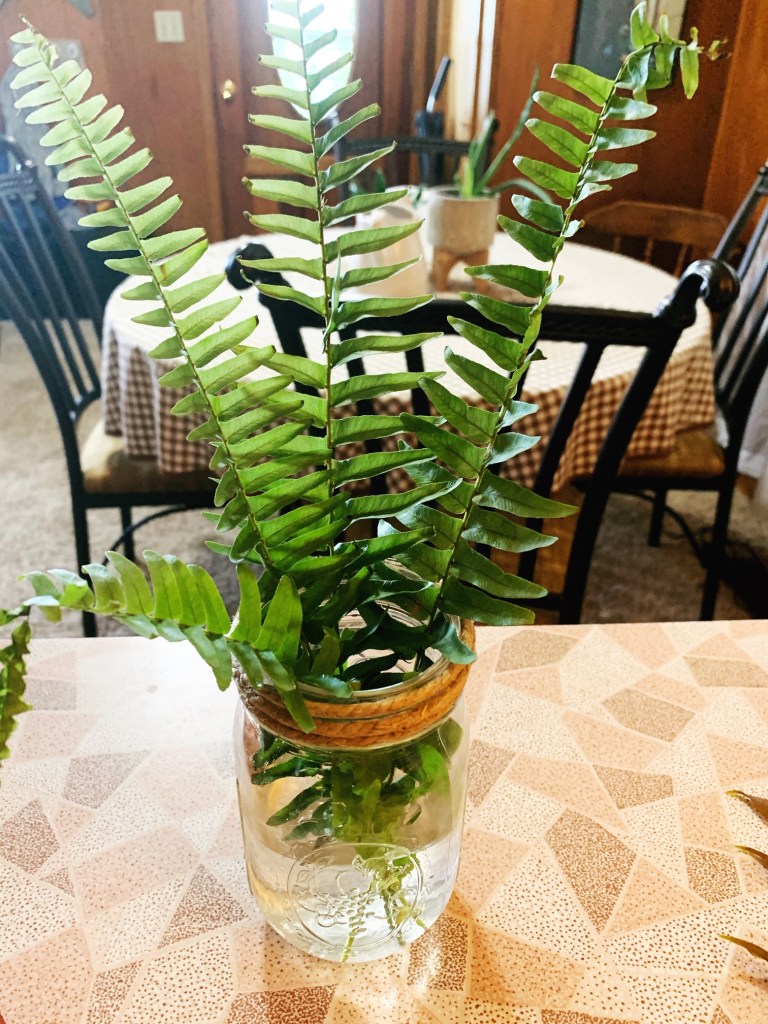
Before you go ahead and start clipping – be sure to determine what you’re doing to put this arrangement in. You’ll need a container of some sort that can hold water. For this tutorial, I’m using a mason jar, but you can also use any other kind of jar, a bottle (think a wine bottle, glass coke bottle, et cet), a vase (doesn’t have to be expensive – it could be picked up at Dollar Tree) or other container. I prefer smaller containers rather than larger wide-mouthed vases. If you use a tapered-open vase (one with the widest part being the open top), you’ll need a lot more filler. I also find that shorter containers, like the mason jar, are nice because your stems don’t have to be super long.
Fill your vase/jar two-thirds full of water.
Now that you know what you’re using, you can head outside with a pair of floral clippers or kitchen scissors. When you clip the stems of greenery or flowers, be sure to clip further down than you think you’ll need.
Once you have everything you think you’ll need (and I’d advise clipping a few extras of the greenery just in case), find a flat clear surface to lay everything out on. I have a bar between my kitchen and living-and-dining room space, and I use that countertopped bar for tasks like this often.
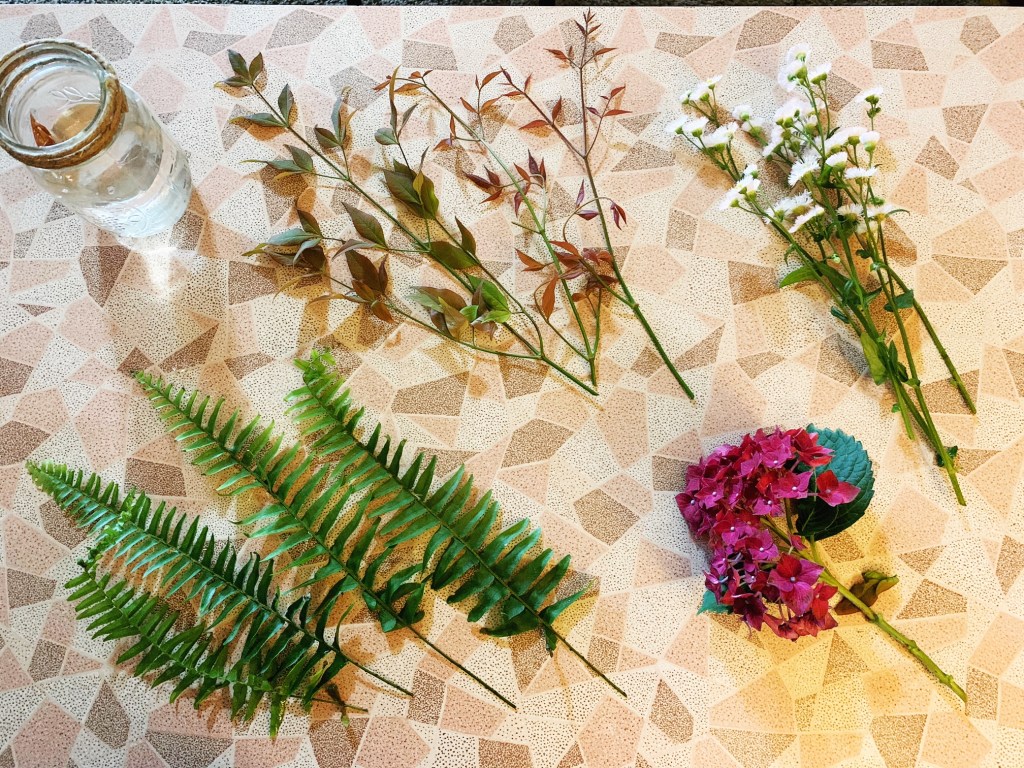
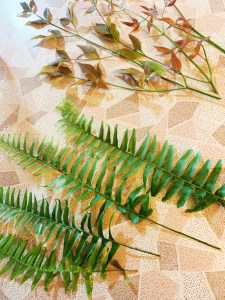
You can see that I’ve chosen some stems of fern and some reddish new stems from a nandina shrub – these will be what I’d call my “back drop” stems.
You could also use a few clippings from boxwood shrubs, larger hosta plants, long thin leaves of monkeygrass, or tall caladium plants as some other suggested types of greenery.
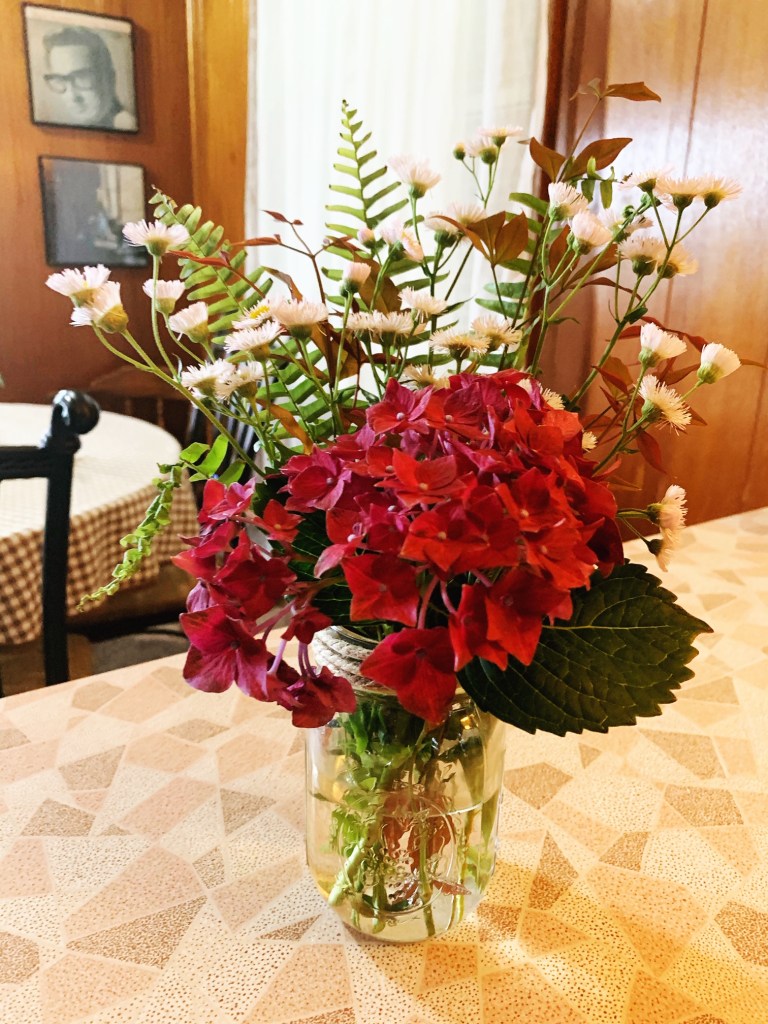
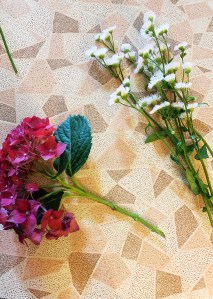
For my floral stems, I chose two different flowers to feature. The first was a few stems of daisy-like fleabane, found in the fields that touch my fenceline. They honestly might be a wildflower, might be a weed, but either way they’re a nice secondary flower. My feature flower is one stem of purpleish-pink hydrangea. I like to have one feature flower – whether it’s a feature due to color or style – to kind of draw the eye inward in your arrangement.
You could also use peonies, roses, daisies, lilies, irises, sunflowers, or coneflowers, for your features. You could potentially use baby’s breath, small-bloomed wildflowers, black eyed susans, or the blooms from salvia for secondary flowers.
Before adding your stems to your water-filled container of choice, be sure to trim your stems to your desired length. When you trim your stems, be sure to cut them at a diagonal angle. This seems minute but will add a couple days to the vitality of your arrangement, as angle-cut stems will allow for increased water intake.
I’ll go ahead and arrange the ferns and the nandina stems across the back of the mason jar (or, if you prefer, vase) first. Then you’ll see that I added in the fleabane, then the hydrangea last to complete the arrangement.


With plain tap or well water and angle-cut stems, you should get several days – maybe up to a week – with your arrangement, depending on your flower selection.
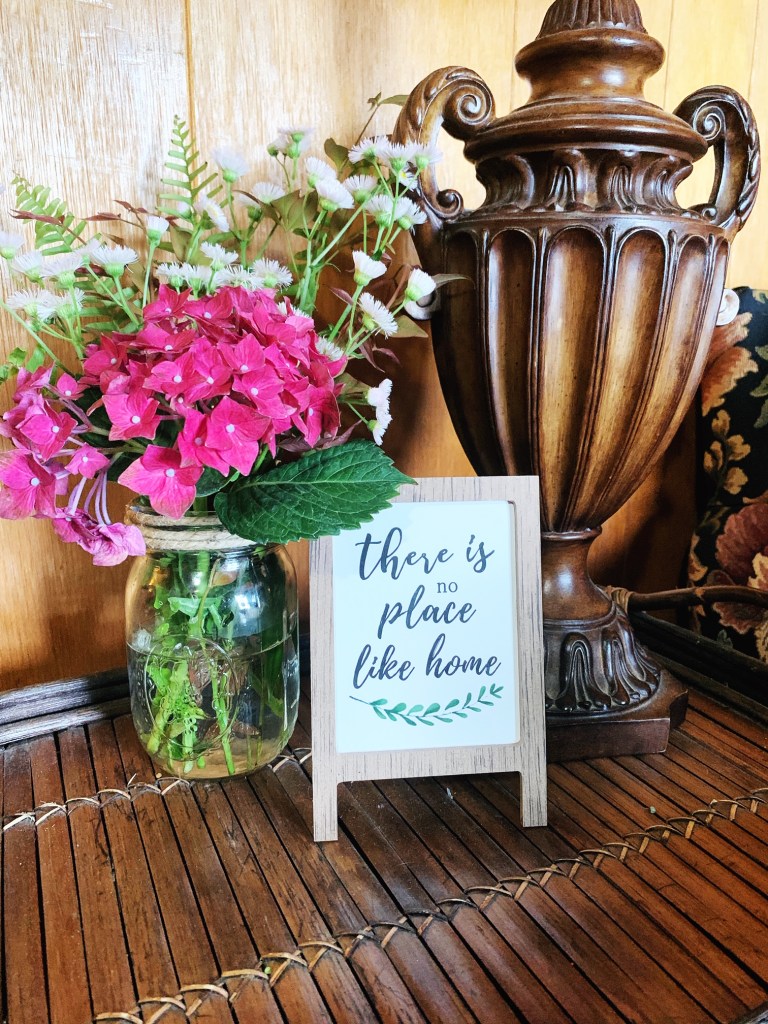
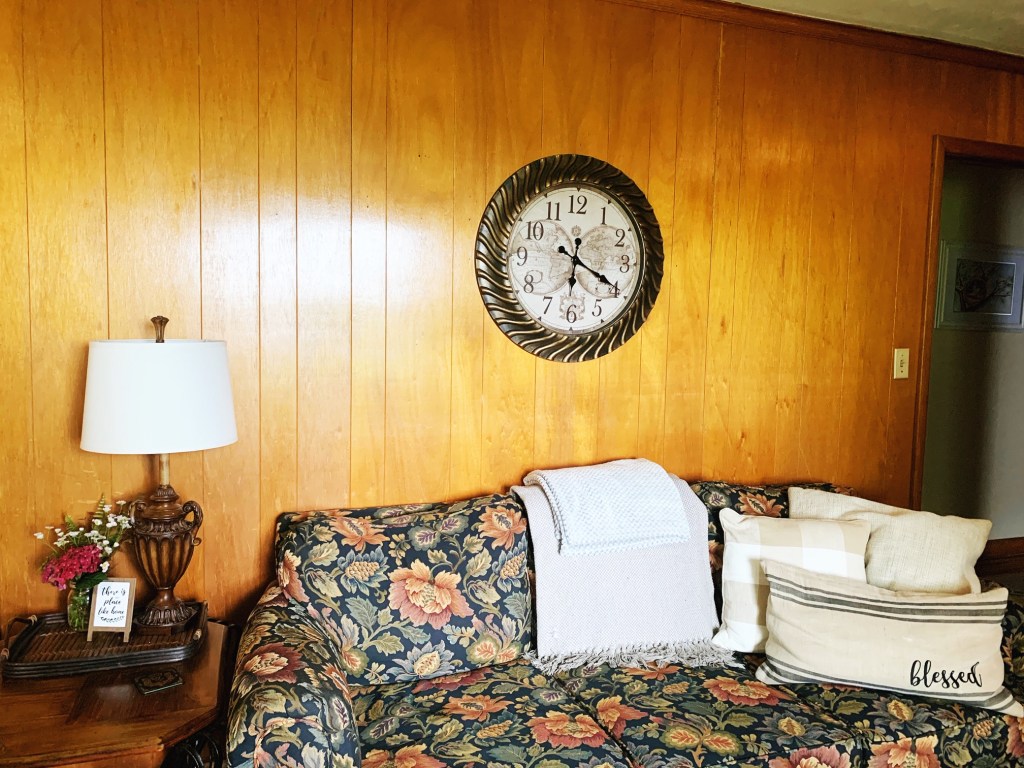
Here are some pictures of this arrangement in my living room. I love how it adds a really nice pop of color.