The new house has a huge rec room in the basement. Well, we created a huge rec room in the basement. When we bought it, it was basically unfinished floors with mostly finished walls. We used the existing wall structure but really turned it into our own space.
If you’ve been following for a bit, you know that Jake works from home, so his office is important to have completely done by the time we’re married and by the time he’s fully licensed in appraising (he currently is training under his dad in the licensing process). I also work from home part-time and in my company’s office the rest of the time, so I ended up needing a designated at-home work area. You can see my office remake from an existing basement closet in this previous blog post.
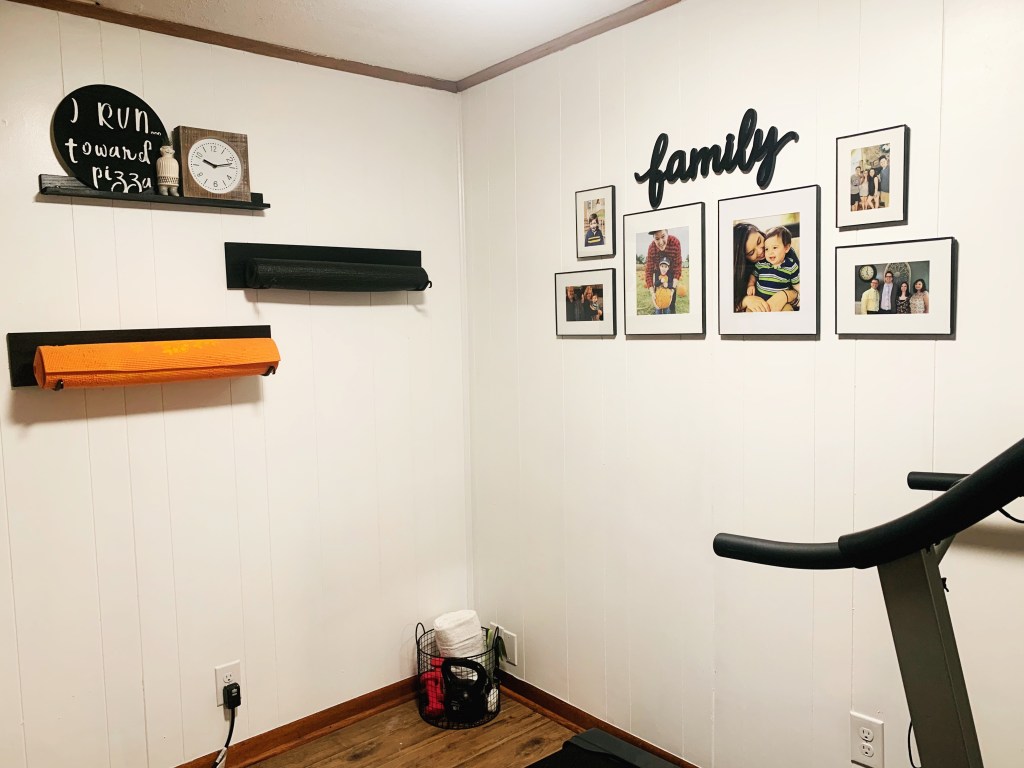
What you haven’t seen yet is that the way we finished our rec room allows us to utilize it as multiple spaces: a TV space, playroom space, a bar cart and mini fridge space for snacks, and a work out space.
I’ve been doing in-home workouts since the pandemic started, and it’s been so good for me. I’m admittedly not working out quite as much as I’d like, but the convenience of working out at home so I don’t miss time with my little one when I have him is awesome, and I think it’s made working out a less cumbersome experience for me. No gym fees, no finding time in the day, no missing out – I can even do laundry while I’m working out if I do it from home.
So we made sure we had a corner for fitness. Jake’s parents gave us their old treadmill and a yoga mat. I also already had my own light hand weights, yoga mat, resistance bands, and light-weight kettlebell.
Here’s the BEFORE picture of our work out space.

Of course, the floors and paint were already done from when we did the basement rec room as a whole. Fun fact: I was going to paint the panelled walls gray and even already had the paint, but as we were priming the paneling, I realized the white really brightened up the space and kind of made me forget that we were in a basement, so I changed gears and went with a bright white instead!
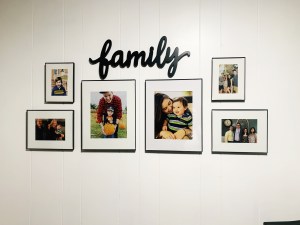
Here’s the family photo collage I had already put together. I had a similar set up in my rental home, but it had different pictures. I switched things up to include Jake’s family and to update some of the photos to more recent ones.
I knew I wanted to organize the space and finish decorating the walls, but I wanted the additional décor to be functional, too. I decided to find a way to store my rolled-up yoga mats.
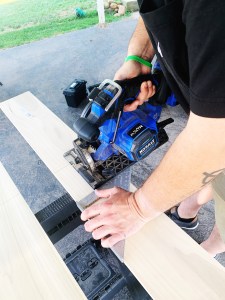
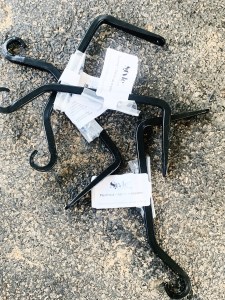
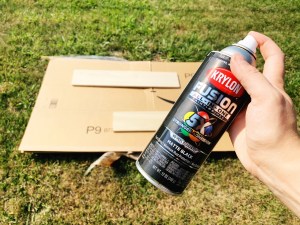
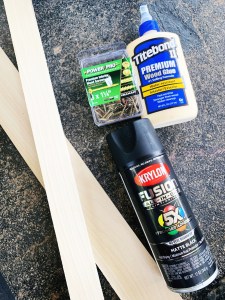
At Lowes, I bought two pine boards that were about 6 inches wide by 48 inches long and ½ inch thick, four metal plant hooks, and matte black spray paint by Krylon.
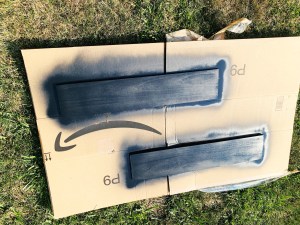
First, we cut the boards down to 28 inches long. Then, we spray painted them black, let them dry, and then added the plant hangers. But here’s the catch – we hung the plant hangers on the painted wood upside down. This is so they act as holders for the rolled yoga mats! Basically, the painted wood acts as a backing board to the upside down hooks, which keep the yoga mats from rolling. The backing boards are 28 inches long, and the mats are about 24 inches wide, so I brought the hooks in 3 inches on each side so they’d hold the mats just right.

Since I only have two yoga mats, I only needed two completed hanging units. However, I really prefer things in odd-numbered groupings if possible, and I still wanted a decorative element to the wall. So I decided to build a shelf that matched the mat holders.
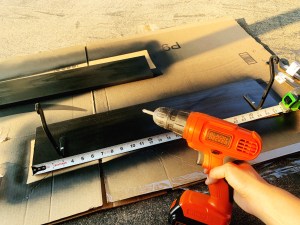
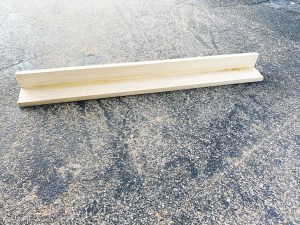
During the same Lowes trip, I purchased more Krylon matte spray paint, a 24 inches long by 3 inches wide board, and a 24 inches long by 2 inches wide board. This time, I waited to spray paint – instead, Jake and I assembled this shelf first. The skinnier of the two pieces would act as a backboard to attach to the wall, and the wider of the two pieces would be a ledge on which I could hold some decorative items. We assembled this shelf by drilling pilot holes, drawing a line of wood glue, sticking them together, and screwing the two pieces together with a cordless Black and Decker drill. Then, I spray painted the entire thing except the wall-facing back.


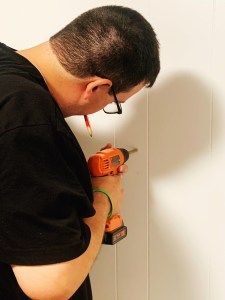
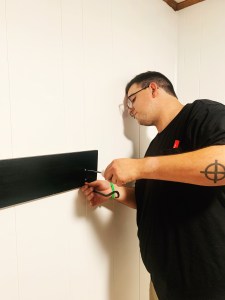
Once the shelf and two racks were dry, Jake helped me get them up on the wall. I found exactly where I wanted them to be placed, and Jake drilled pilot holes, inserted anchors, and drilled the newly-made wooden storage units up.

Then, I decided to decorate!
While the orange mat is from Jake’s family, the black mat I purchased for myself months ago – it was just $5 at Five Below – and I definitely recommend checking out their site or their store that’s most local to you for simple at-home work out items.
On the top shelf, I placed a clock I purchased for $10 at my local Dollar General, an air plant in a pot shaped like a little man that I got at my local Lowes, and a sign that I made myself. The sign says “I run… toward pizza” and I made it using a thin round piece of craft wood, white and black acrylic craft paint, and a set of alphabet stencils.
I stacked these together and am really happy with the way it turned out!
During the same Dollar General trip as the clock purchase, I grabbed a great deal on the wire basket – just $8 for this beauty! I filled it with my other work out items – my kettlebell, hand weights, a towel, and my resistance bands.

This work out corner ties in perfectly with our wood, white, and black décor in the rest of the rec room, and it turned out so great in just one afternoon and evening!

Do you work out at home? If so, what’s your space like? I’d love to hear from you in the comments below!

One thought on “At-Home Gym Corner DIY”