Spring Decor Tour

Spring has SPRUNG! At least, in my heart. Even if the weather is only acting like springtime every other day.

My rental home is decorated for the spring and for the coming Easter holiday! I wanted to do a quick show-you-around style blog post to celebrate the coming of a warmer, happier, lovelier season.

In the midst of this COVID-19 health scare, a lot of you are quarantined all day – or at least before/after work – at your homes. If you’re afraid you’ll be bored to death or climbing the walls, don’t panic. There’s lots of springtime cheer to be had in your own home or in your own backyard.  I’ll show you what I’ve done to make my home feel a little more joyful and seasonally spirited.

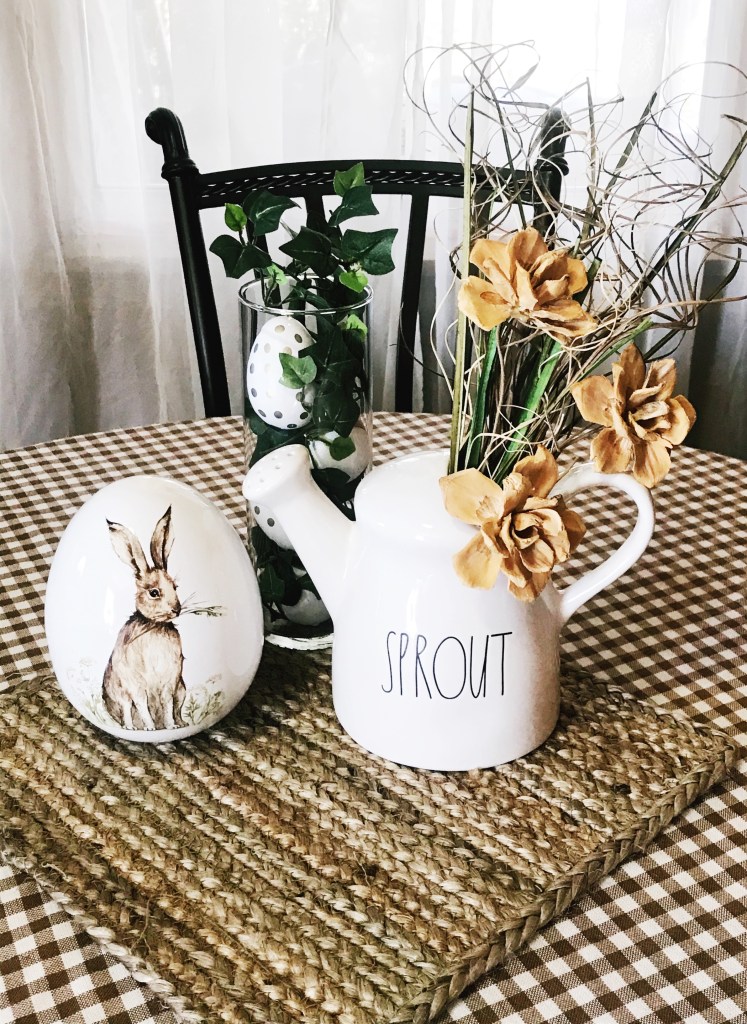
First and foremost, how cute is this country-spring-inspired centerpiece on my table? My tablescapes and centerpieces are so much fun for me to change up seasonally, and this spring’s décor is no exception! I purchased this brown-checked round tablecloth for $1.99 at the local AM VETS thrift store in Knoxville – thrift store steal of the season, right?! And I found this so-sweet rabbit egg, the wooden eggs in my cylinder vase, and the Rae Dunn watering can all at TJMAXX.com.  I paired these items with greenery I already had, and I placed them all on a jute Better Holmes and Gardens placemat from Walmart for under $3. Using a single placemat as a centerpiece base is a cost-saving trick I’ve been using for years – they’re less expensive, easy to change out seasonally, and small enough to store in a drawer or on a closet shelf.
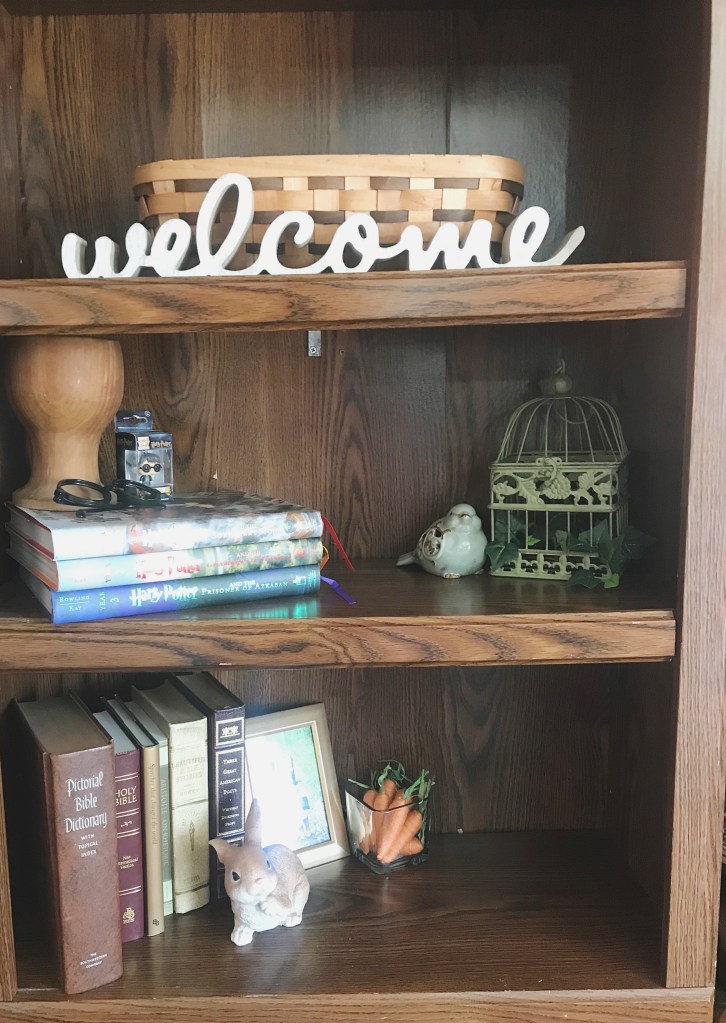
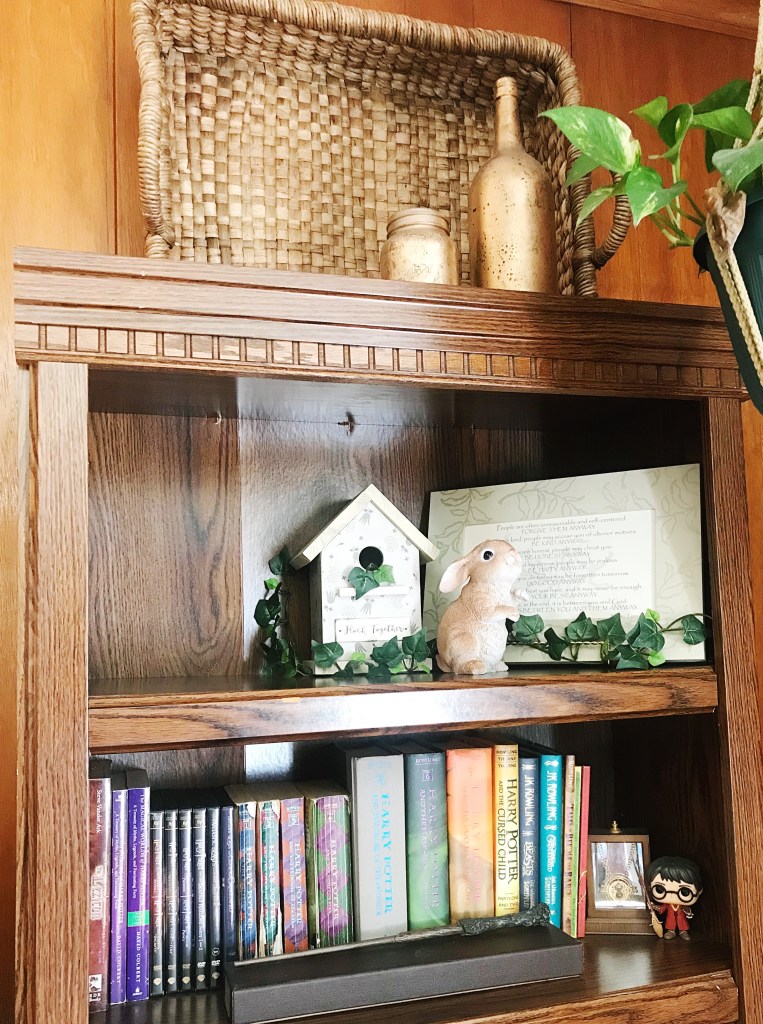
I’ve also decorated my bookshelves with light touches of spring. These sweet bunnies were under $5 each at Old Time Pottery, and the birdhouse in the second picture was $7 at Big Lots. I already had the greenery and the other décor.

(Oh, and check out my Harry Potter collections. Didn’t mean to feature those, but I love them, and they stay up all year round!)
You can’t forget the outside of your home! If it’s nice enough out, I say GET OUTSIDE. It’s not worth being cooped up inside and contracting cabin fever. If you have a space for your little one(s) to play, let them – even just for an hour while the sun is shining.

And, while they’re outside, YOU can get some outside spring décor up to cheer up your space.

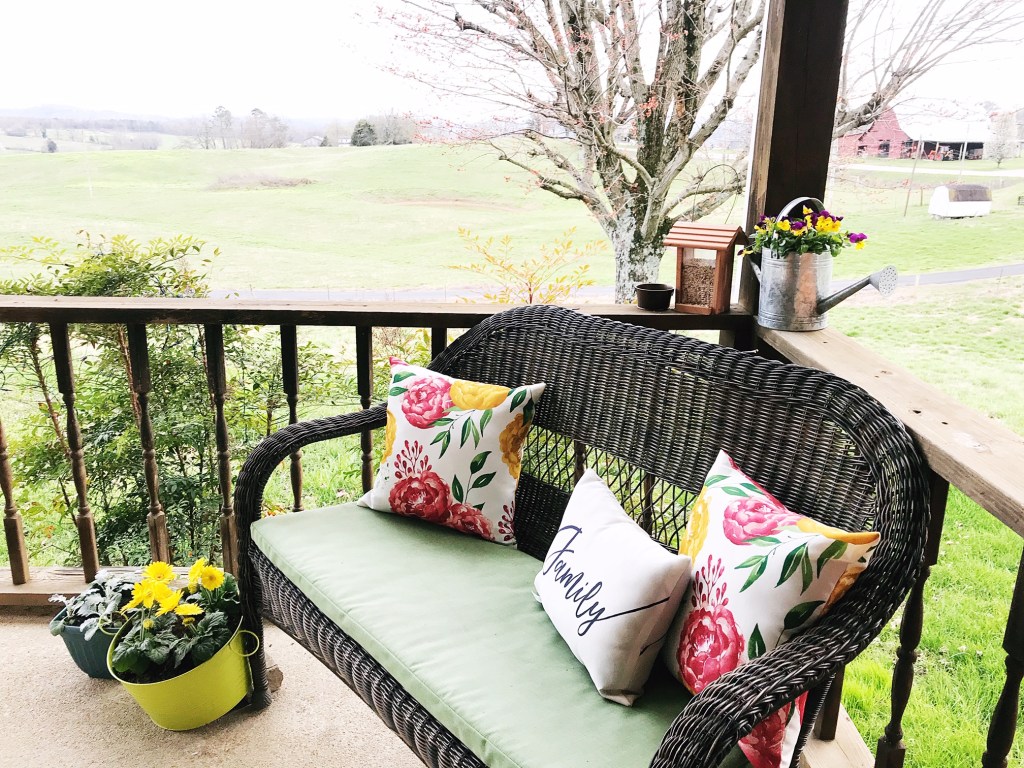
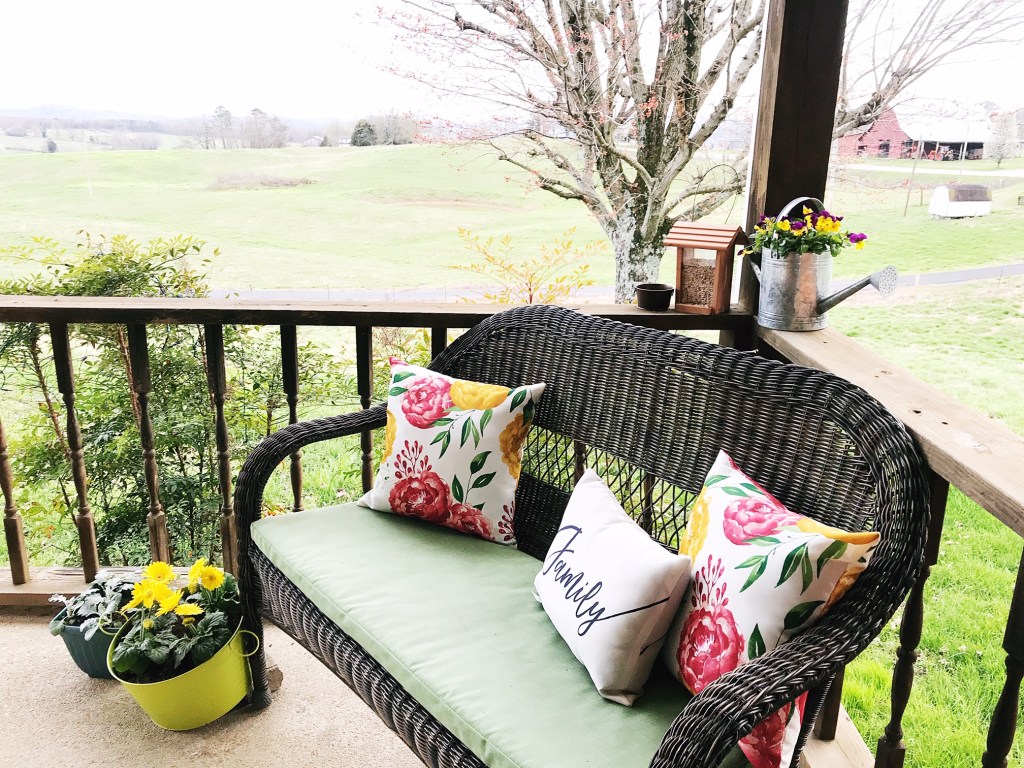
On my front porch, I added seasonal spring cushions to my bench ($5 each at Walmart) and repurposed a galvanized watering can into a planter (just $2.99 at a KARM thrift store). Pansies scream “spring” to me, so they seemed the perfect flower to plant here!
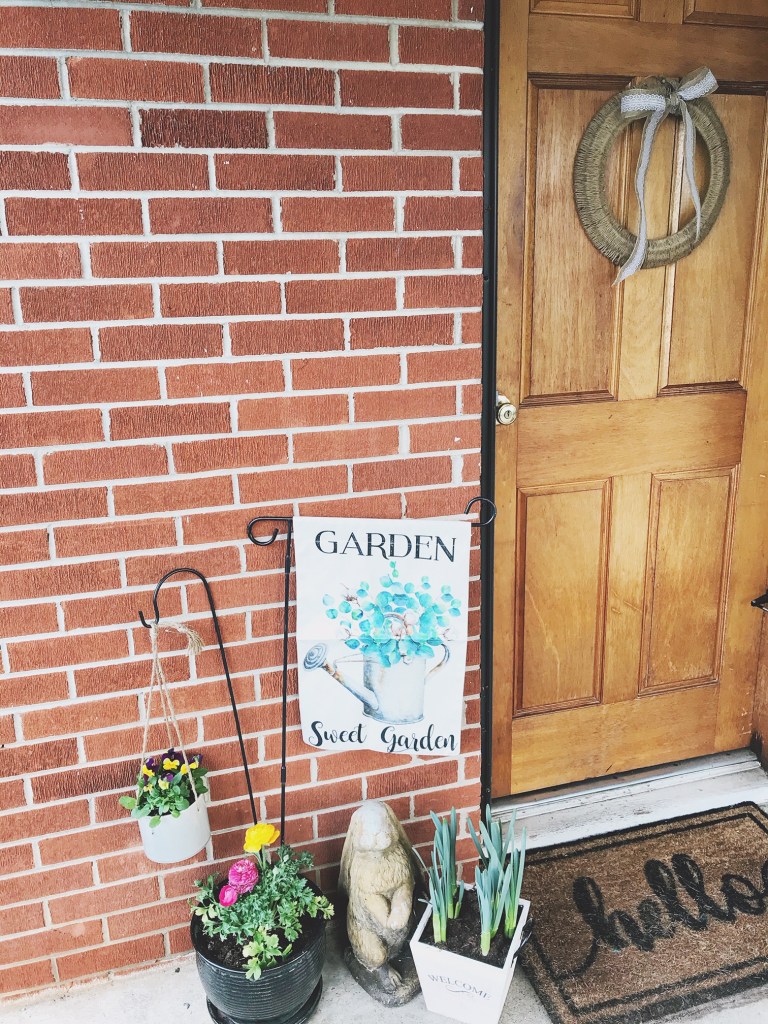
I also always decorate my door. The unique thing about my rental is that the house was built to take advantage of the view – which faces the opposite direction than the driveway or road. So, I use my front door as a back door, and my side door from my carport as a front door. That means my side door needs to be extra homey and welcoming.

Here’s what I’ve added. A sweet bunny statue from Lowes a few years back, a garden flag (bought off of Amazon for $6.99 from seller BLKWHT Home & Garden), some bulbs in a cute planter from Lowes this year, and a few planters from last season. The sweet wreath was a handmade gift from my sister when I moved in last August.
What are some of your spring décor faves for your home? If you haven’t had a chance to embrace the season yet, I hope you’ll find time as you stay home – all day or around your work schedule – to bring yourself and your home some joy this season!
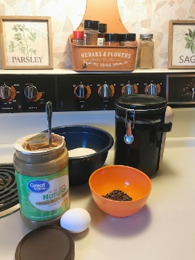
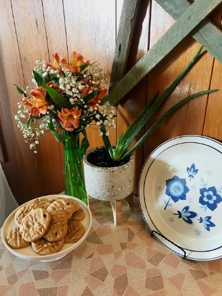
Peanut Butter Chocolate Chip Cookies

When my mom and aunt were growing up, one of the things they did together was make peanut butter cookies. I remember hearing that my gram’s Betty Crocker cookbook would open automatically to the peanut butter cookie page – as if the smeared peanut butter fingerprints and cracked spine knew exactly where the girls wanted to go each time.

Naturally, in our house as my sister and I grew up, peanut butter cookies became a favorite, too. As I got older and Pinterest became the source of all baking answers (and honestly, answers of all sorts), I discovered – like many others – the magical powers of the 3-ingredient peanut butter cookie.

In my first apartment, I made a lot of batches of these simple cookies. I always felt that they were a little gritty, though, and were missing something.

Over the years, I’ve tried a lot of adaptations to the cookies, and I’ve finally found the secrets of success: a little less sugar and – everyone’s favorite ingredient – chocolate! I knew these were a winner when my mom – the original expert of peanut butter cookies – said they were delicious! I hope you’ll enjoy them just as much.

Here’s what you’ll need:

  • 1 cup of peanut butter (I prefer the natural peanut butter)
  • 3/4 cup of sugar
  • 1 large egg
  • Semi-sweet chocolate chips (approx 1/2 cup but totally up to your taste buds’ preference)
  • Sprinkle of flour

Preheat your oven to 350F.

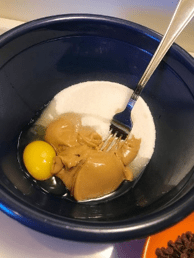
In a medium-sized mixing bowl, add in your sugar, peanut butter, and egg. I don’t use a beater – there doesn’t seem to be enough moisture for that to be successful and it’s easier for me personally to control the texture with a fork. Once all of the ingredients are well-blended – so no clumps of sugar or areas of only peanut butter – you’ll get ready to add in your chocolate chips. But there’s a process for this that will help in this recipe or any recipe with added floating ingredients!

Grab a smaller bowl (I use miniamo melamine bowls from my sister – you can find a 4 set on Amazon for around $10, but any small bowl will work). Empty your chocolate chips into the bowl. Then, using a spoon, lightly sprinkle flour over the chocolate chips. I usually shake my bowl a little to make sure all of the chips have a light coating of flour. The flour coat helps any added item stay suspended in batter, rather than sinking to the bottom. This tip can be applied to other items, too – like walnuts in any batter, such as cake, brownie, or bread batters.

Now that your chocolate chips have a light dusting of flour over them, you can slowly add them into the cookie batter. Make sure you only add some at a time, then stir so your chips are somewhat evenly distributed throughout. I also always save a few chocolate chips for later – some for my kiddo’s snack-grabbing fingers – and some for any cookies that look like they’re lacking even distribution.

Stick your batter in the freezer for a little bit – 10-15 minutes or while your oven finishes preheating. This will help the batter firm up, which is ideal for the cookies to have the right texture.

After the batter is cold and thick, but not completely stiff, you’re ready to go! Bring it out and roll it into balls – they should be a little smaller than ping-pong ball size, and the batch should allow you to make about a dozen.

Spread them out on a sprayed baking sheet (I usually use two smaller sheet pans). Then smush them down using a fork in a cross-hatch pattern. If no chocolate chips are showing on the top of the cookie, I usually add 1-2 of my extra chips just for even distribution and presentation.

They should go in the oven for 8-12 minutes. In my oven, 10-11 minutes is usually the best time range, and then I let them cool on the pan for about 1-2 minutes. You want to make sure that the bottom of them is a golden-brown when you use a spatula to take them off of the pan.

If you’re sugar-free or on the Keto diet, you can substitute ingredients – sugar-free peanut butter, Stevia or other sugar substitute (but be sure to use their recommended equivalency chart, since 3/4 cup of sugar is different than 3/4 cup of sugar substitute), and sugar-free chocolate chips.

Enjoy, y’all!

Hi, there, y’all. I’m Kate.

Welcome to my blog!

If you’re wondering what you’ve stumbled across, I want to take a moment to introduce myself. Here’s the reader’s digest version.

I’m a divorced, now-remarried (as of 12.4.21!) momma who lives in a small town not far outside of Knoxville, Tennessee. I’m a lover of the kitchen, of good books & poetry, of hot tea in cute mugs, of ice cream, of Sunday morning pews, of bracelets & bangles, of candles, of color-coding, and of homemade cookies & chocolate with toffee.

I’m excited to share bits of my life with you – from momma hen hacks to easy-to-follow recipes to home décor – and, of course, it’ll all come smothered in my sassy-but-sweet Tennessee twang!

Follow this blog & find me on social media to get to know me better!

I’d love to hear from you – so feel free to introduce yourself in the comments section here on my website, on Facebook posts, or on Instagram posts. I’m excited to welcome you to my community!