If you follow me on Instagram or Facebook, you know that we are expecting our third baby boy this spring! Franklin is due in early-mid April, but with him tracking along as over the 80th percentile, we know it may be more like late March or the start of April when he arrives!
I wanted to document some sweet moments so far in our pregnancy as we continue to wait on his arrival in the coming 40-ish days.
Learning About Franklin
We found out we were expecting pretty early on this time – which was amazing! We were sure we felt called to add one more to our family, but hadn’t expected to be with child so quickly. We felt (and feel) so blessed by this good news and opportunity to grow our family.


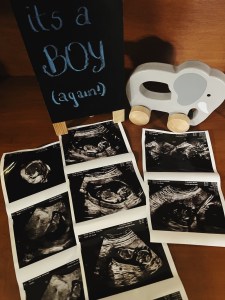
For our 20-week anatomy scan, we had both of our boys – AJ and Teddy – with us. We all found out together that my gut instinct was correct: another boy!
Preparing Our Home
In our preparation, we’ve decided to flip some things in our home setup to make things more accommodating when Franklin arrives!
The little boys – Teddy and Franklin – will be only 17-ish months apart, so they will share the slightly larger room, and AJ, about 4.5 years older than Teddy and about 6 years older than Franklin, will have his own room. We flipped rooms and began redecorating. This project, as of end of February 2024, is still in process – but I’ll be sure to share photos on the blog when we complete both rooms!
For the first several weeks – possibly the first few months – we know Franklin will be sleeping in our room for easier midnight nursing sessions and cuddles. I set up a nursery nook with a bassinet in the corner of our master bedroom.

Celebrating Our New Addition
We have had an amazing community surrounding us, praying for us, and supporting us as we have grown our family for the last several years. This pregnancy is no different!
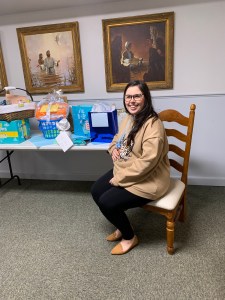
My job is at my home church as the Christian Education Director. One of the best parts of this job is working with all of the various small groups as they meet, fellowship, and do ministry.
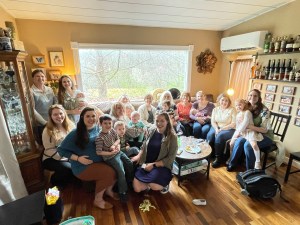
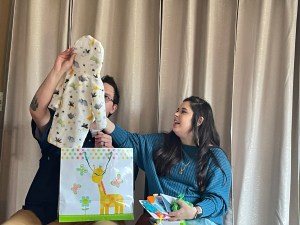
Our United Methodist Women’s group meets monthly and includes some of my very favorite people – and they surprised me in early February at their monthly meeting with a baby shower! They are the sweetest friends and have embraced my whole family, so I am so grateful for this wonderful celebration they held for our newest little one. He is already so loved!

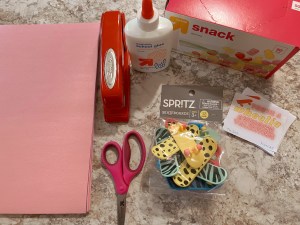
My best friend and college roommate is also hosting a baby sprinkle for us in March, and we’ve invited our local family members. I’ll be sure to share photos in this blog post after that event in early March!
Updated on March 12 to add these photos from our weekend baby sprinkle, hosted by my best friend, Diana.


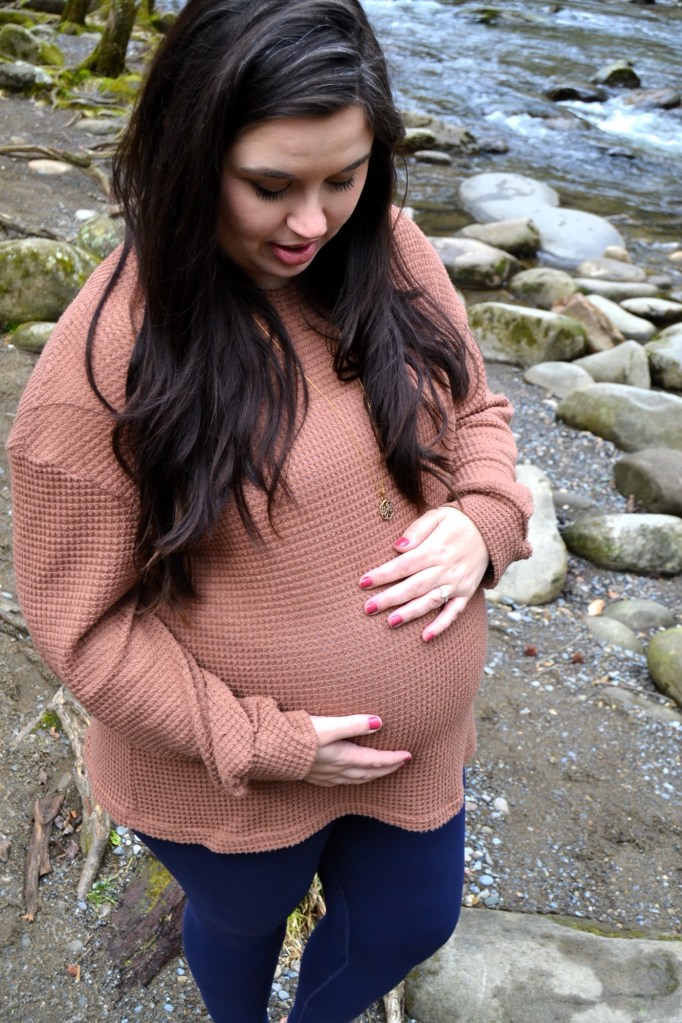
Maternity Photos
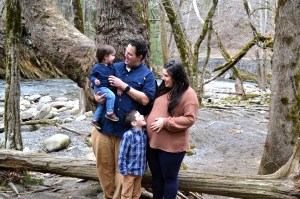
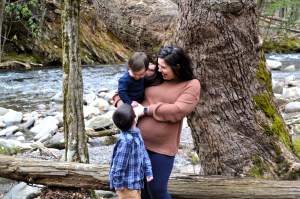
Like we did when I was pregnant with Teddy, Jake and I have DIY’ed the maternity photos we wanted.
At 32.5 weeks, we loaded up my Nikon camera and went into the Smoky Mountains. We found a pretty spot with trees and water, and Jake set up some shots of just me, me and the boys, and of all four of us (plus the baby bump, of course).
Jake set up the shots, and, when we got home, I did just a few basic edits.
Now we’ve commemorated this pregnancy and taken some sweet family photos!

I’ll continue to keep you posted when Franklin arrives. We’re counting down to meeting our little guy face to face!