Q-Tip Polka Dot Painting

We’ve had some severe rain the past few days – so much so that the school I work at was closed early yesterday and out completely today for flooding in the county. When I’m off work and Little Man is home, I keep him home with me to capture any additional time with him that I can.

It’s so soggy outside today that there’s no way that we could play on the swing set or chalk. So I thought we could paint instead!

My toddler loves to paint – and lately, he’s been really interested in his children’s Bible. We are regular church attendees (I’m actually on staff at my church as Director of Youth & Young Adult Ministries), and when he’s with me for the weekend, he always goes and he attends children’s Sunday school, too. He is great at praying before dinner and before bed, and he remembers a lot. So his new interest in his children’s Bible isn’t surprising to me, but it sure does make me proud!

After we read a story, I try to be really intentional about having him share what he remembers and adding additional questions to help him connect with the story. For example, when we read about creation, I asked him how many days it took God to create the world – I repeated that question at random times until he could tell me, “6 days and on the 7th day, God took a nap.” Close enough! For Adam and Eve, he can tell you that Adam was the name of the first boy and Eve was the name of the first girl; he remembers that they were tricked by a snake, and they were tricked into eating the fruit of good and evil, which is exactly how his children’s Bible phrases it.

So we recently read about Noah’s ark. He can tell me that Noah built an ark, which is a boat, and that God told him to bring 2 of each kind of animal. What didn’t stick well with him at first was the rainbow.

Today, I thought that we could talk about what comes after the rain – since we’re living a mini version of it! So I shared what a rainbow is, and why God put a rainbow in the sky when Noah left the ark with all those animals. And we painted a rainbow… with Q-Tips!

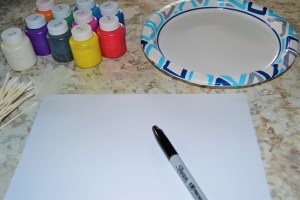
Here’s what we used:

  • A black sharpie
  • White paper
  • Q-Tips
  • Washable paint
  • A paper plate

I did a rainbow piece myself first so he could observe before I let him loose with paint. I find he does well watching to learn, then receiving instructions as a reminder when he does it himself. I’ll show you my process first, then his project.

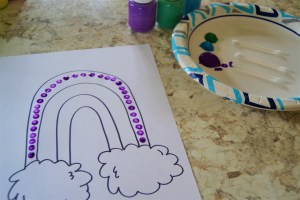
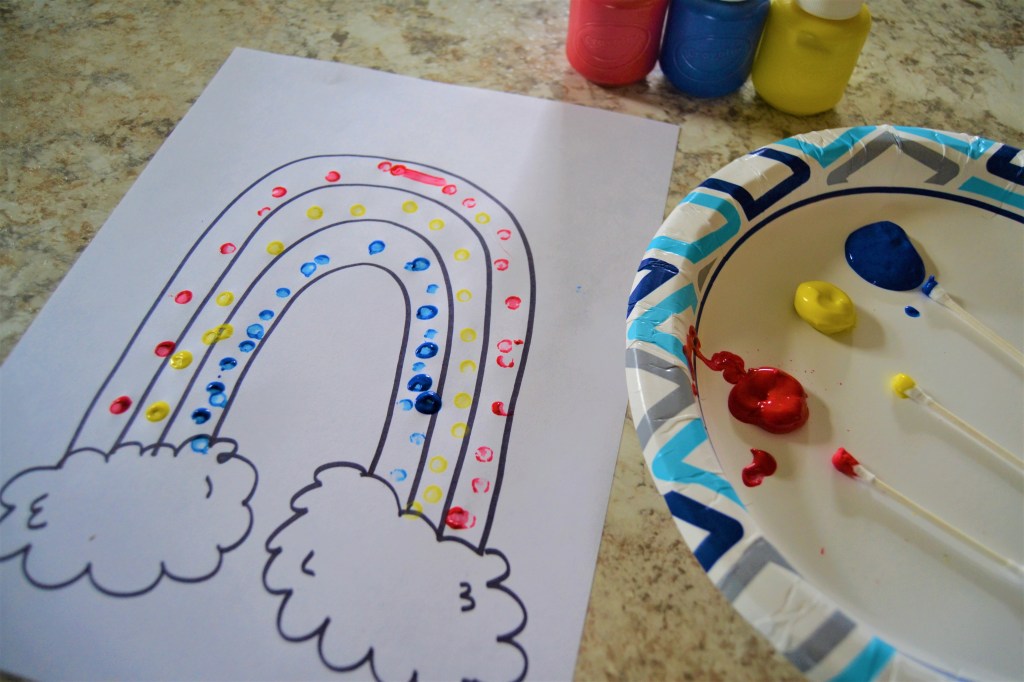
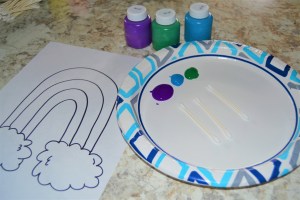
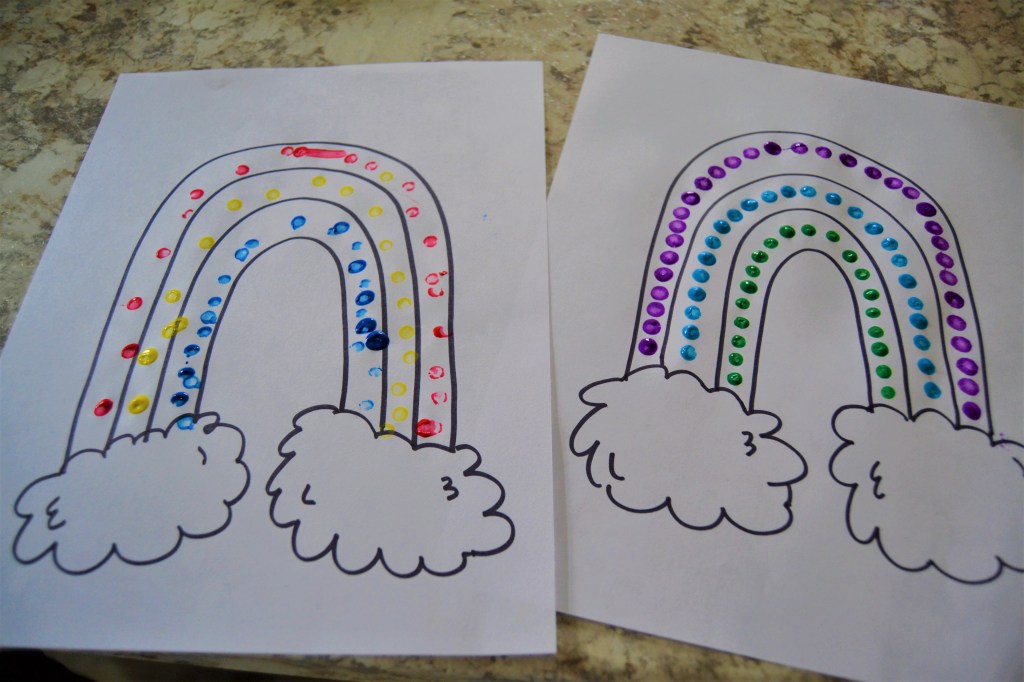
I started by drawing a quick, three-banded rainbow on paper with the Sharpie. (No, my three-year-old does NOT get Sharpies – haha.) I set up my paper plate with the three colors I wanted to use, as well as one clean Q-Tip per color.

Then, I dipped a clean Q-Tip into one color of paint and filled in the first row of my rainbow with dots. I didn’t fill in completely because I like the feel of the polka-dot look.
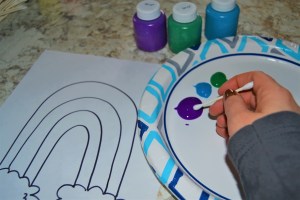
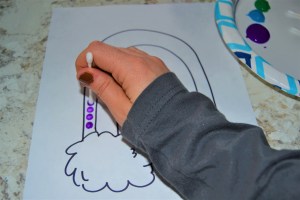
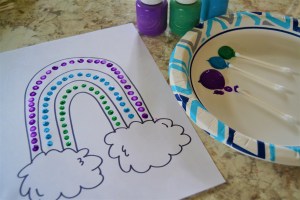
Then I repeated this process for all three bands before coming up with my final piece of Q-Tip artwork!
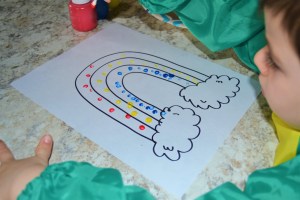
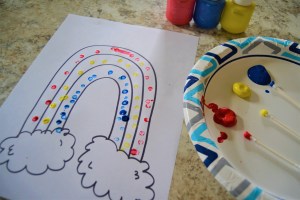
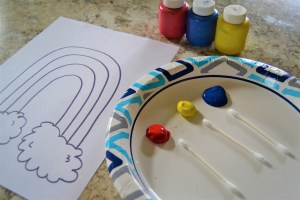
When it was his turn, AJ selected his own three colors – red, yellow, and blue. Not traditionally side by side for a rainbow, but he’s three, and I’m thankful he knows his colors and has a steady hand for this activity, so we’re not fighting the color wheel battle today.

Overall, he did a great job of staying in the lines and getting through the process! We talked a lot about Noah while he painted, and he seemed to really enjoy it.

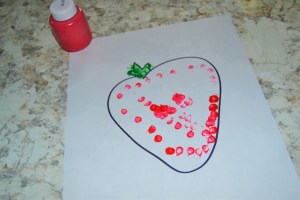
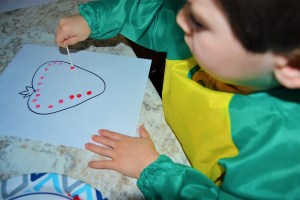
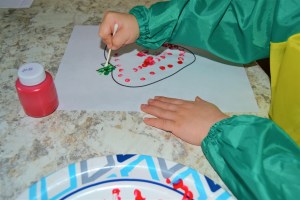
In fact, at the end, he told me he wanted to paint something else. Here’s a strawberry I doodled really quickly and let him paint – so this doesn’t have to be a faith-based activity if you don’t want it to – it can be for anything seasonal or that’s on-topic for school or at-home discussions you might be having with your kiddos.
What do you think of our quick Q-Tip art project? What kind of rainy-day activities do you do with your children? Comment below – I’d love to hear from you!
4-Ingredient Pico de Gallo

I love, love, love Mexican food! I love spicy, cheesy, fresh foods – so I am almost always down for Mexican food at a restaurant or at home.

My husband loves Mexican food too, but he’s not a huge fan of tomatoes or onions, so buying a tub of pico de gallo at the store isn’t always a wise investment for me – a big tub will go bad before it can all be eaten.

Tonight I was making stuffed Mexican peppers with rice and nachos, but I wanted some of the fresh taste of pico. So I decided to make my own pico de gallo with the veggies I had on hand!

This recipe is quick, easy, and you can adapt the amounts you use to fit however much pico you need for your table!

Here’s what I used:

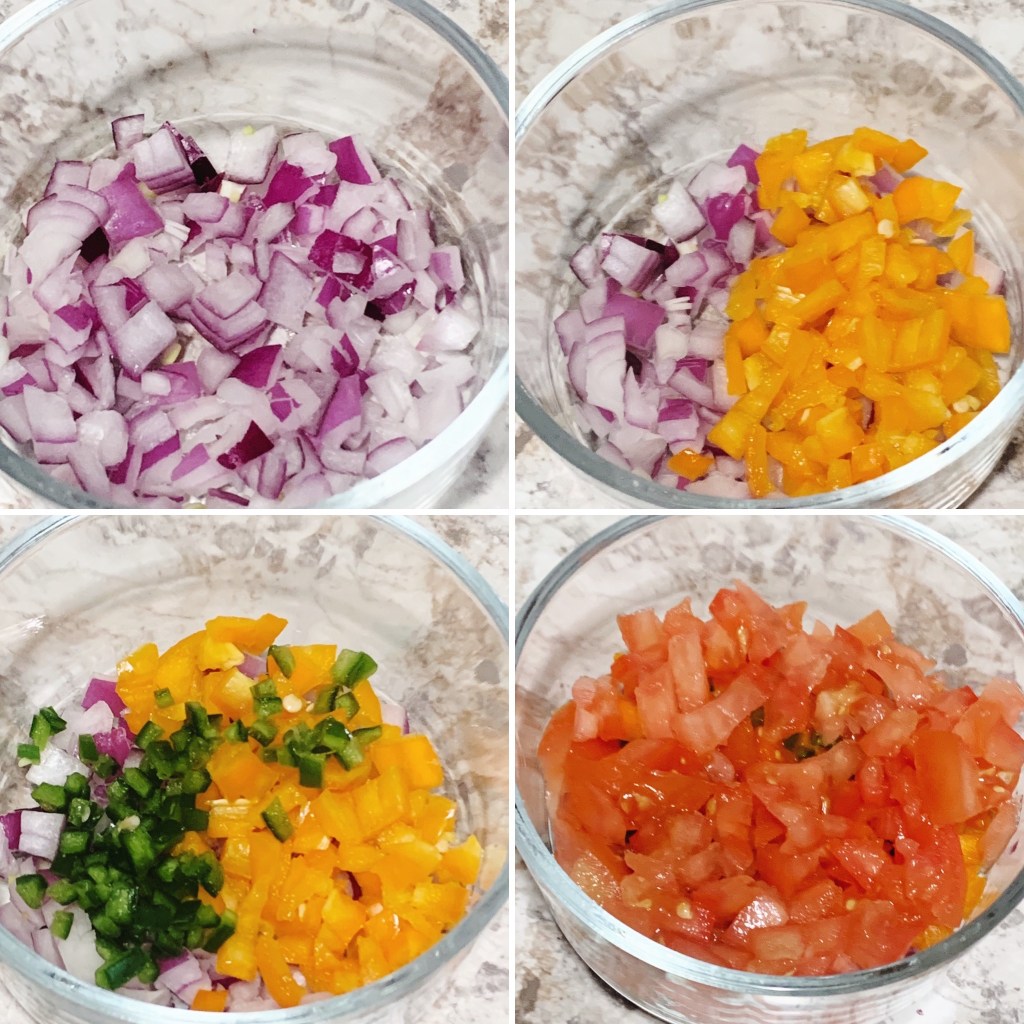
  • 1/2 a large tomato
  • 1/2 of a small jalapeño
  • 2 thick slices of a red onion
  • 2/3 of a small sweet orange pepper

I started by chopping everything into really tiny pieces. I started with my onion, then my orange pepper, then jalapeños, and then tomatoes. I added each to the glass bowl as I chopped them.

You’ll want to chop your onion very small so the taste isn’t overpowering in every bite. And the jalapeño needs to be even smaller so you get the heat but not an overwhelming amount.

I did cut the center and seeds from both kinds of peppers, but didn’t cut out the softer center of the tomato.

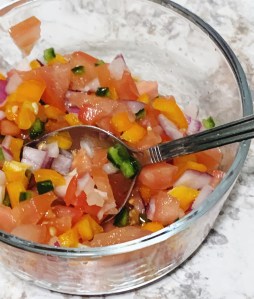
I then stirred the entire bowl together until well mixed.

You can refrigerate it or use it right away to top your favorite tacos, rice bowls, or salads!

I used mine in my stuffed Mexican pepper mixture tonight. Next time I hope to use it on steak tacos!

Enjoy!

Strawberry & Chocolate Cookies

What says Valentine’s Day better than strawberries and chocolate?! The combination is a classic, particularly around this time of year. But I don’t know about y’all, but it’s been a challenge to find good strawberries in stock in my neck of the woods!


This year, I’ve combined the classic flavor combination in a different way – cookie form!

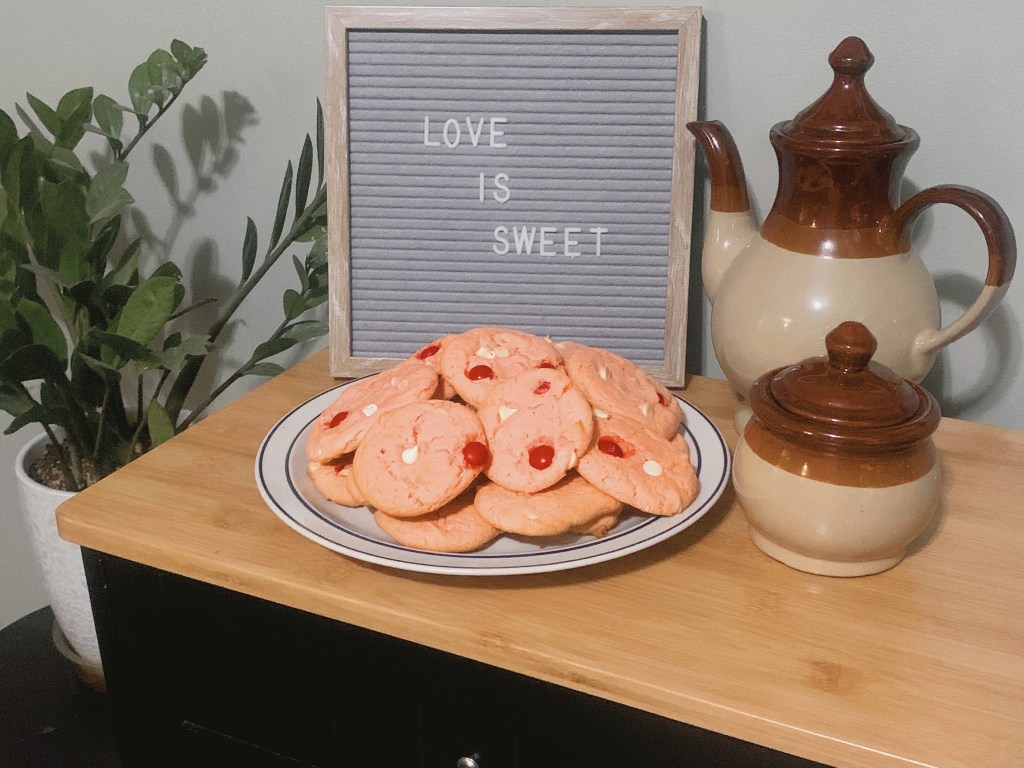
This is another cake mix cookie recipe, and it is SO easy, SO sweet, and SO perfect for celebrating Valentine’s Day! (With this sweet pink color, it’d also be perfect for a baby shower, wedding shower, or tea party-themed event.)

Here’s what you need:

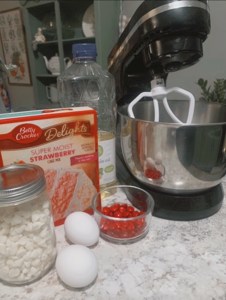
  • 1 box of Strawberry cake mix (any brand)
  • ½ cup of oil
  • 2 large eggs
  • Approx ⅓ – ½ cup of white chocolate chips
  • Approx ⅓ – ½ cup of red M&Ms

Preheat your oven to 350F.

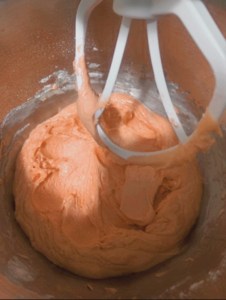
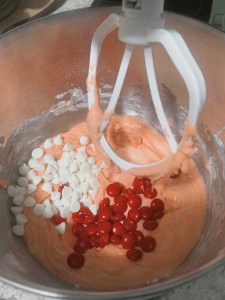
In a stand mixer (or in a bowl with a hand mixer), combine your cake mix, oil, and eggs. Mix until well blended. Then, add in your M&Ms and your white chocolate chips and blend lightly until they are dispersed fairly evenly. 

Chill the dough while the oven finishes preheating. When the dough is chilled slightly, scoop or ball the dough into roughly ping-pong sized mounds and place on a lined baking sheet. (The dough will be very sticky and may not round into perfectly formed balls – that’s okay – the cookies will bake just fine if they’re not perfectly rounded.)

Bake at 350F for 11 minutes.

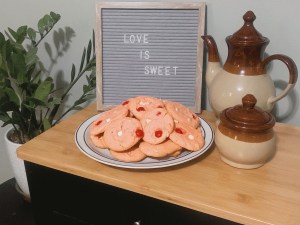
When done, pull out, remove from the pan with a spatula, and let sit on a cooling rack. The cookies should cool for several minutes before plating or eating.

Enjoy! 

These are SUPER sweet, so I do recommend a big glass of milk or something to cut the sugary taste. But they make the perfect Valentine’s dessert – so please enjoy with your family, loved one(s), or friends!

Check out my little one’s reaction to his first bite!

Chocolate Chip & Walnut Cake-Batter Cookies

Out of all of the desserts available to us in the world  – and, yes, I know there are a lot – I consider myself a true fan of two: ice cream and cookies.

My parents got my husband and me an ice cream machine for Christmas, so maybe, after we’ve had some time to practice with it and find our own favorites, we’ll share some recipes for that, too.

For now, my favorite cookies will have to suffice. If you’ve been around awhile, you know that I’ve shared a few different cookie recipes on here – chocolate chip peanut butter cookies, M&M cookies, and butterscotch walnut cookies. Two of the three recipes use a cake-box base, and today’s recipe falls right in line.

These are EASY cookies that anyone can make, in just a few minutes. They’re perfect for last-minute hosting, quick desserts, or to satisfy a sweet tooth.

Here’s what you’ll need:

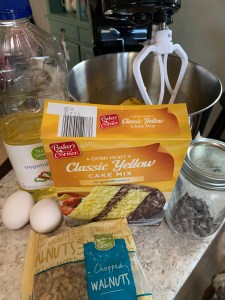
  • 1 box of yellow cake mix
  • 1/3-1/2 cup of chocolate chips
  • 1/3-1/2 cup of chopped walnuts  
  • 2 large eggs
  • 1/2 cup of cooking oil

Start by preheating your oven to 350F.

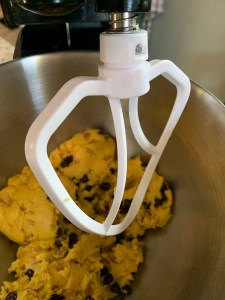
As your oven heats, mix your cake mix, eggs, and oil together. You can mix these by hand, with a hand mixer, or with a stand mixer. I use the stand mixer. Your dough should be a sticky, yellow mixture.

Then, add in your chopped walnuts and chocolate chips and mix slowly until they are evenly dispersed. Roll into small ping-pong sized balls and place on a lined or sprayed cooking sheet.

Cook on 350F for about 11 minutes. You’ll know they’re done because they’ll be turning a light gold and the bottoms will be just browning.

Let them cool on a cooling rack for several minutes before plating and serving. These are so delicious – they have a thick, soft texture with the sweetness of the chocolate and the light crunch of the walnut. Enjoy with a glass of milk or a cup of coffee!

Oregano-Buttered Eye of Round Steaks

I love a steak dinner. Ya girl isn’t one to go out to a nice meal and skip the steak to look like a lady with a salad. No, no, no. I like a nice steak.

But let’s be real: I’m not buying filets for weekly dinners at home. I can’t afford that, and even if I could, I’d rather someone serve it to me in a restaurant. 

But I do have a pretty good solution for affordable steaks at home: eye of round steaks. A lot of people find eye of round steaks to be tough and lacking flavor, but I think they are totally redeemable and delicious when prepared thoughtfully. And I think they’re fairly forgiving if you overcook just a touch when prepared with this oregano flavored butter.

I typically purchase my eye of round steaks in a three pack at Aldi. These are super inexpensive and are a good size for us in my home. My toddler doesn’t eat steak, so these little steaks are perfect for Jake and me.

Here’s what you need:

  • Eye of round steaks
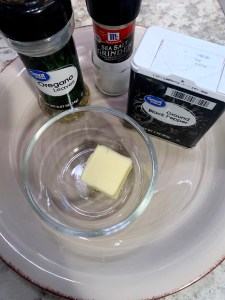
  • 2-3 tbsp of butter
  • Sea salt
  • Black pepper
  • Oregano

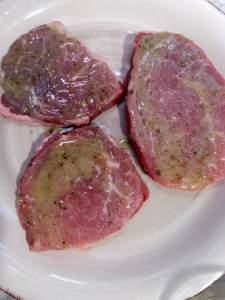
First, melt about 2 tablespoons of butter in a glass bowl in your microwave. Then, sprinkle in salt (to taste), pepper (to taste), and oregano. Go heavy-handed on the oregano so you get that bold, earthy flavor in your hot melted butter.

Melt some butter in your stovetop pan. I use a Lodge Cast Iron Skillet to cook mine because I love cast iron (sorry to Jake who typically does dishes, but honestly, he loves the flavor this way too, so he’s not complaining).

As the butter is melting in your pan, use a silicone basting brush (mine is from Pampered Chef) to cover one side of your steaks in your oregano-flavored butter. 

Then, place your steaks, buttered side down, in the skillet. On this upward-facing, non-buttered side of the steak, use your silicone brush to get the remaining amount of oregano butter sauce onto your main course.

Cook these stovetop and flip as needed until they are cooked to your liking. I have found that these are forgiving little steaks if they get a smidge overcooked. These aren’t gourmet in tenderness – but they are delicious in flavor, which is what matters when you’re cooking on a budget and have a genuine love for food.

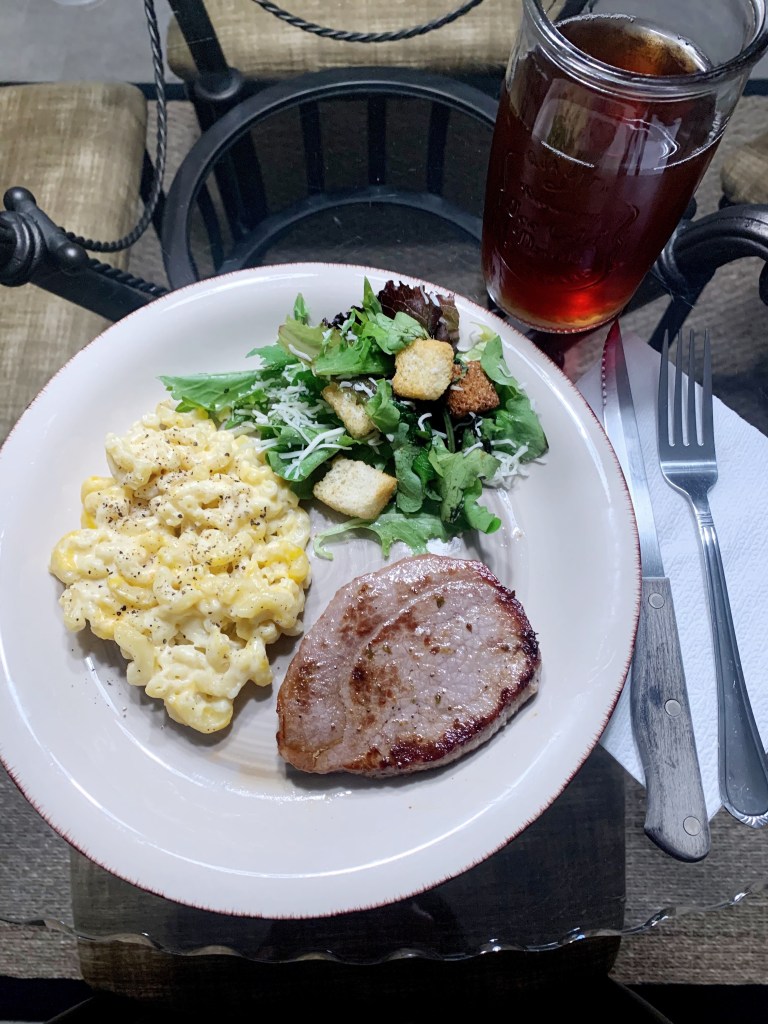
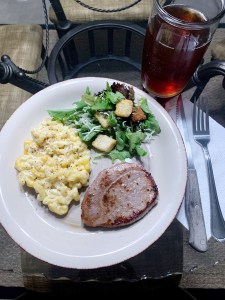
I paired mine with homemade mac and cheese (click here for my recipe), a caesar salad, and a glass of iced tea.

I’d love to hear what you think if you try this recipe – or to hear how you make affordable and delicious dinners for your family! Message me via the comments below! 

Toy Storage Tips & Tricks

So who knew that being a parent meant that your entire life would be invaded by toys? Some of them are expensive – the “must have” Christmas gift kind of items. Some of them are educational like color-coded puzzles and books that use the alphabet strategically. Some of them are less significant toys – dollar tree prizes for going in the potty or drive thru meal toys, which, for some reason, become so significant to our toddlers that if you misplace it – or heaven forbid get rid of it – you are sure to be reminded of it for the rest of your life.

They. Are. Everywhere.

It’s like Toy Story up in this joint. These things look like they have a mind of their own and are running a miniature toy village when we aren’t looking, am I right?

So we’ve got to get it under control. And the best way I have found to control the toy-a-palooza is to have a system for storage that works. It’s got to work and make sense to you and your family.

So I’m going to share that today.

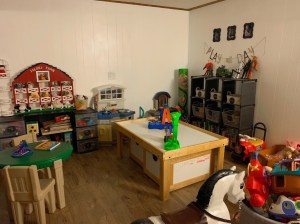
We are very fortunate in the new house to have a full basement. My dad, Jake, and his dad worked really hard to finish it out. (I’ve talked about that in a few other posts – you can see our work out corner and my office in other blog posts.) A larger corner of the open den/family room space is designated as the playroom. This is little man’s space to play with the majority of his toys – but, because it’s open to the rest of the family room area, it needs to be easy to tidy up if we’re having people over or during weekly cleaning times.

So I’ve developed a system that has proven to be fairly useful. I hope it’ll be useful to you, too!

Even if you don’t have a designated play room or corner, I think that these tips and tricks can be applied to your shared family space, living room, or kids’ bedrooms.

#1: Categorize It All

A mistake I’ve made in the past is saying “I don’t know where this goes.” EVERYTHING has a place – or it should!

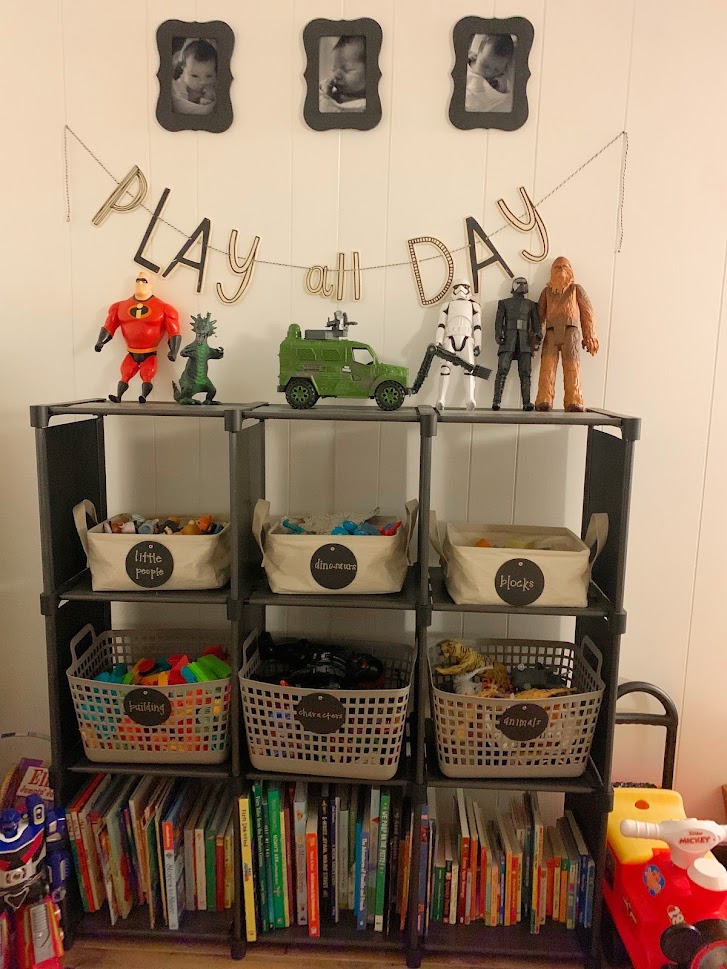
I think it’s important to take a sort of inventory of your kid’s toys and to make mental categories. They can be as general or specific as works for you and your child’s interest. Here are some of our categories:

  • Little People
  • Dinosaurs
  • Blocks
  • Building
  • Characters
  • Animals

It’s easy to say “okay, all of the toys that are Little People brand go in here,” but I also needed a spot for “characters” because we have a lot of specific character toys – Mickey and friends, The Incredibles, Star Wars, Spider-Man, Paw Patrol. Those kinds of character-specific toys go in the “character” bin. In your house, those might be combined into an “action figure” bin, for example.

Having a mental list of categories for all of the toys means that I have a “home” designated for each item – that they will have a place and not be a “floater.”

It also means it’ll be easy to group similar items quickly for a last-minute clean up job.

Bonus Tip: If you find you have a lot of these floating, no-home items, you can always create a miscellaneous bin – but I would suggest going through it regularly to see if a new, more permanent home makes sense for an item in the future.

#2: Invest in Storage Items

You can’t have a storage system without storage tools. They don’t have to be what I used – in fact, I’ll give you a couple different ideas here outside of what I utilized.

Think about what you have and how big your storage containers need to be. Do you need small storage, medium storage or large storage? Do you need a combination of these sizes?

Here’s another big question: do you like lids or no lids? Do you prefer drawers or baskets or lidded chests?

For my family, we have a mixture. I prefer no lids – personally, I feel it creates a barrier between mess and tidy, an extra step to lift or remove a lid that doesn’t seem helpful to my son if he’s helping pickup. I prefer open bins/baskets and drawers.

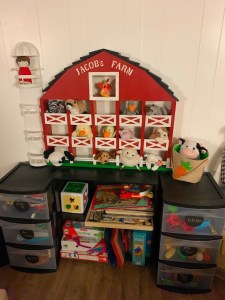
In our play corner, we have a combination of storage systems, and they all work for their purpose.

For our train and activity table (gifted by some very dear friends), we have two rolling under-table storage bins that hold Hot Wheels cars and track supplies and wooden train table accessories respectively.

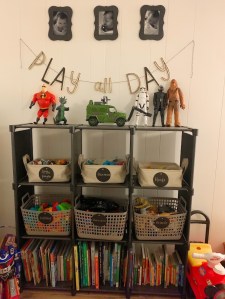
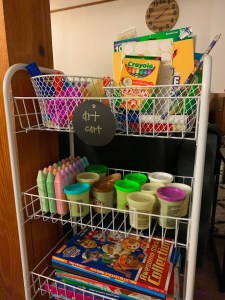
We also have a cube shelf (purchased on Amazon here) that stores books and toys, labeled with tags, plastic storage that stores specific categories of toys, and a shelf for puzzles and games.

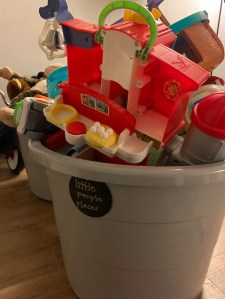
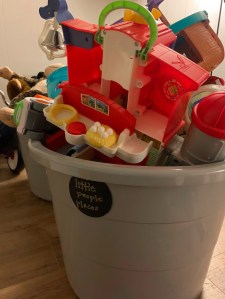
For larger items like stuffed animals, Little People houses and other places, and transportations, and mega blocks, we have larger labeled bins. The art section is a unique area where we actually have a storage cart and various art supplies.

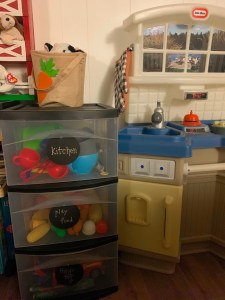
We also have an open shelf for puzzles and plastic see-through drawers for several items like play kitchen supplies and food, costumes for dress up, or miscellaneous cars and tractors and trains (AKA “things that go”).

Using more open-concept storage systems is helpful to me so I can see where things go – and my son can see where things go to return them as he helps with clean up.

#3: Labels are Your Friend

I think my toddler is pretty smart – but he’s not reading yet. So why use the labels?

Well, for starters, he WILL be reading soon, and it’s important he starts to understand that there are words associated with specific items.

But labels are also helpful for tired mommas. If you are like me, there are days when you can barely remember how to spell your own name, let alone remember which bin the Chewbacca toy goes in. The labels can be a lifesaver.

Jake is also new to this parenting thing – and to my style of organization. He’s such a helpful partner and future stepdad, and I’m so grateful when he jumps in and helps without even being asked. Having a labeled system helps him get familiar with how I organize and where everything’s “home” is.

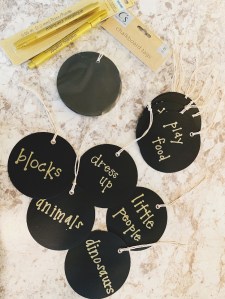
I got my labels and gold marker pen all at Dollar Tree. I wrote on the labels with a fun, simple font and then got glued them to the appropriate container.

Pro Tip: Don’t add the labels right away. Pick up a few times first and make sure your categories work before you hot glue labels to the bins.

What do you think? Do you already employ some of these tips in your kiddo’s play space or bedroom? What additional tips to do you have? I’d love to hear from you in the comments!

Halloween Fun for Toddlers

It’s the season for trick or treat! And man, my little one is about it! He loves Halloween and pumpkins and fall. At age 3, it’s important that the things we do are both age appropriate and fun, and I thought this list of seasonal activities might be helpful to my other momma hen friends!

#1: Do a Fall Craft

Here are 4 things you can do with your toddler as we approach Halloween!

There’s really no season that doesn’t come with some kind of cute craft! And there are SO many cute things to make – and many of them are great opportunities to show your kids hand-eye coordination skills and flex their creative muscles.

There are a million ideas on Pinterest for DIY crafts – and I genuinely love so many of those – but if you’re a busy momma or you don’t have all of the supplies for those, you may want to buy a simple $1 kit at your local dollar store.

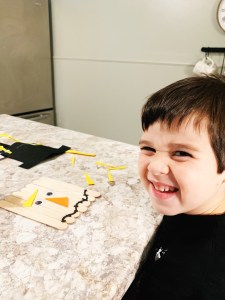
This make-your-own scarecrow sign kit was $1 at my local Dollar General and the only thing I needed to add was glue. Little man had a blast – and he’s so proud of his scarecrow now!

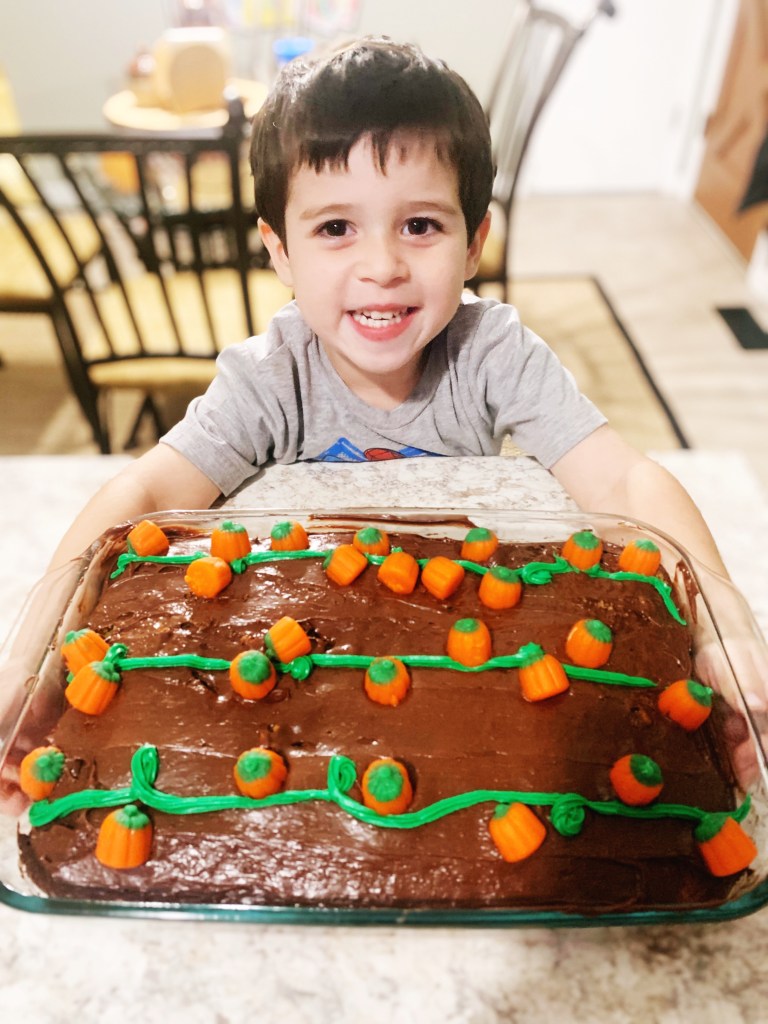
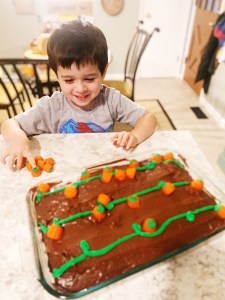
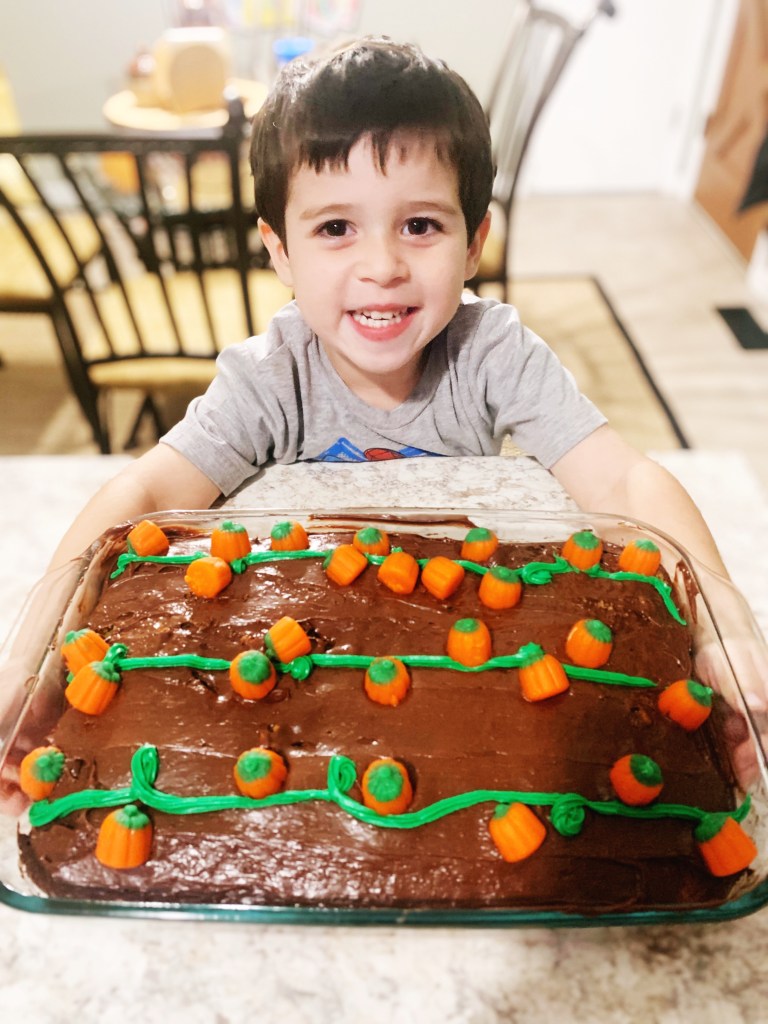
#2: Bake a Pumpkin Patch Cake

I shared this one on the blog last week – but it’s too good of a Halloween themed activity to not share again! (Click here for the full tutorial.)

Bake a simple box cake – but purchase some green icing and pumpkin candies too. You can decorate this cake as a pumpkin patch – and, again, let your kiddo exercise their hand-eye coordination.

My kiddo has shared that he made a “pumpkin cake” with so many people! This is probably going to be an annual tradition for us now because he had so much fun – and I’ll never complain about a sweet treat in the house!

#3: Gift a Boo Bag

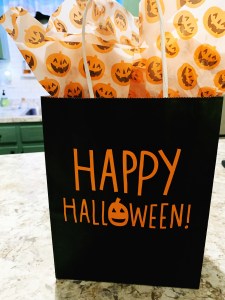
You’ve probably heard of getting “boo’d” at Halloween – where you leave a bag or basket of seasonally themed items at a neighbor’s stoop or a coworker’s desk. I thought a Boo Bag for my little one was a good adaptation of this tradition!

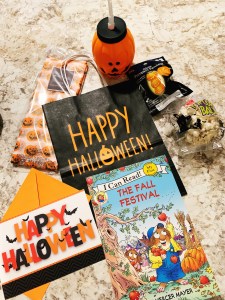
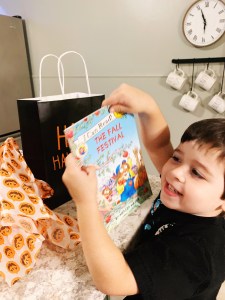
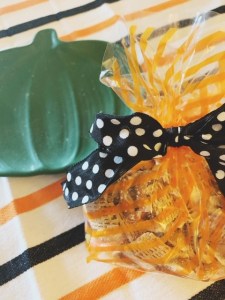
I filled it with a Halloween card, a fall book (we love the little critters books!), a glow stick pumpkin necklace, a popcorn ball, and a pumpkin cup. He loved this surprise – and half of the items are useful, which is great.

#4: Make a Salty & Sweet Snack Mix

Last year, I shared this recipe (click here) for a sweet and salty fall treat!

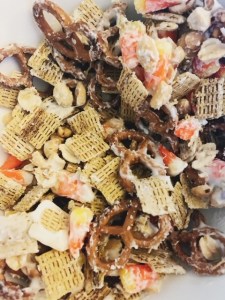
What says fall better than candy corn? Not much – but add a little substance to that sweet treat, and you’re right on the money!

This is a good one if your child is eager to help with mixing in the kitchen – or counting out different items as you prepare them.

What Halloween activities do you do with your toddler? Any traditions we should partake in? I’d love to hear your thoughts in the comments below…

And from our house to yours: Happy Fall, Y’all!

Pumpkin Patch Cake Activity

It’s October, and that means it’s time for PUMPKINS! Do y’all love fall? I love the cooler weather, the crewneck sweatshirts, the natural colors, and the vegetation, including pumpkins.

I wanted an activity to welcome the autumn season but that would be both appealing and appropriate for my little one. He loves to bake (he comes by that one naturally) and he’s at an age where continued hand-eye coordination activities are helpful.

We decided to bake a pumpkin patch cake.

What’s that? Well it’s NOT a pumpkin cake – and that fact is very important to little man. He told his GiGi (my mom), “it’s a pumpkin cake, but it doesn’t taste like pumpkin. Does that make sense?”

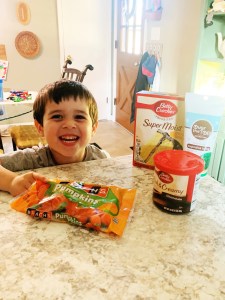
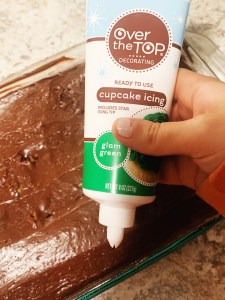
Here’s what we had: yellow cake mix (& ingredients as instructed on the box), chocolate frosting, a tube of green icing, a bag of Brach’s pumpkin-shaped mellowcremes.

First, we made the cake according to the box’s instructions. (Seriously, this activity is so easy and perfect for families that aren’t even usual bakers – it’s perfect for kiddos!) We used our mixer, which little man loves, and we poured our batter in a nonstick-sprayed baking dish and cooked according to the instructions on the cake packaging.

Little man not only mixed them, but he poured in all of the ingredients. It was really hands on, and he kept saying he was a “chef” and that he likes cooking in the kitchen.

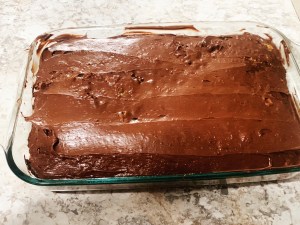
When the cake was baked and cooled, I quickly iced it with the chocolate frosting. It’s not a perfect icing job – but that’s okay! It’s going to be the dirt in your pumpkin patch, so it’s really okay to look imperfect.

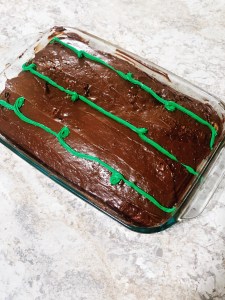
Next, take your green tube of icing and make a few lines – these shouldn’t be perfectly straight; instead, they should have some twists or curves or little loops to act as leaves. These lines become your vines in the pumpkin patch.

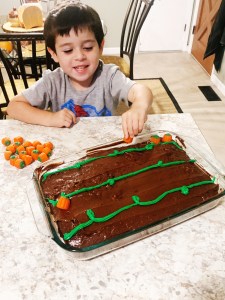
At this point, I got little man involved again, and he helped me place pumpkins along the vines. He absolutely loved this! As we placed the candies, we talked about the colors of pumpkins, how they grow on the ground on a vine, and we counted the numbers as we set them up.

This cake was an absolute blast to make – and we enjoyed it for several nights! Jake loved it too – but that’s not surprising to me because he loves cake, candy, and Halloween, so this was a home run for him.

What do you think? Any fun, seasonal baking activities you recommend doing with your little ones?

Lil’ Helper Kitchen Stool

I don’t know about your kiddos, Momma Hen friends, but my son is a huge fan of helping in the kitchen. If I’m cooking or baking, he’s helping. Of course, there is a hindrance – his height. He can’t reach the countertop on his own.

So I decided that we needed to do a quick little DIY to make my favorite lil’ helper a step stool!

Here’s what you need:

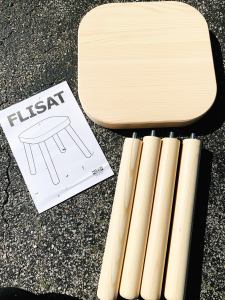
  • 1 Ikea children’s stool (called Flisat)
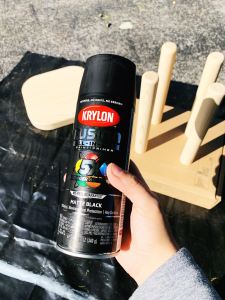
  • 1 can of Kyrlon black flat spray paint
  • White craft paint
  • Paint brush (I prefer a sponge one)
  • Alphabet stencils

I’ll be honest – ours is NOT perfect – but I love it for its functionality and because we made it together.

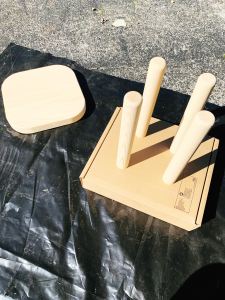
I started by opening up my boxed stool (which comes with screw-in legs). I laid the top of the stool on a piece of black plastic so I wouldn’t end up spraying the driveway, and I screwed the legs into the box to hold them upright for painting. I spray painted everything black.

I let the sit in the sun and dry out. When I checked them, I made sure I got good coverage and resprayed any areas that needed it and let them dry.

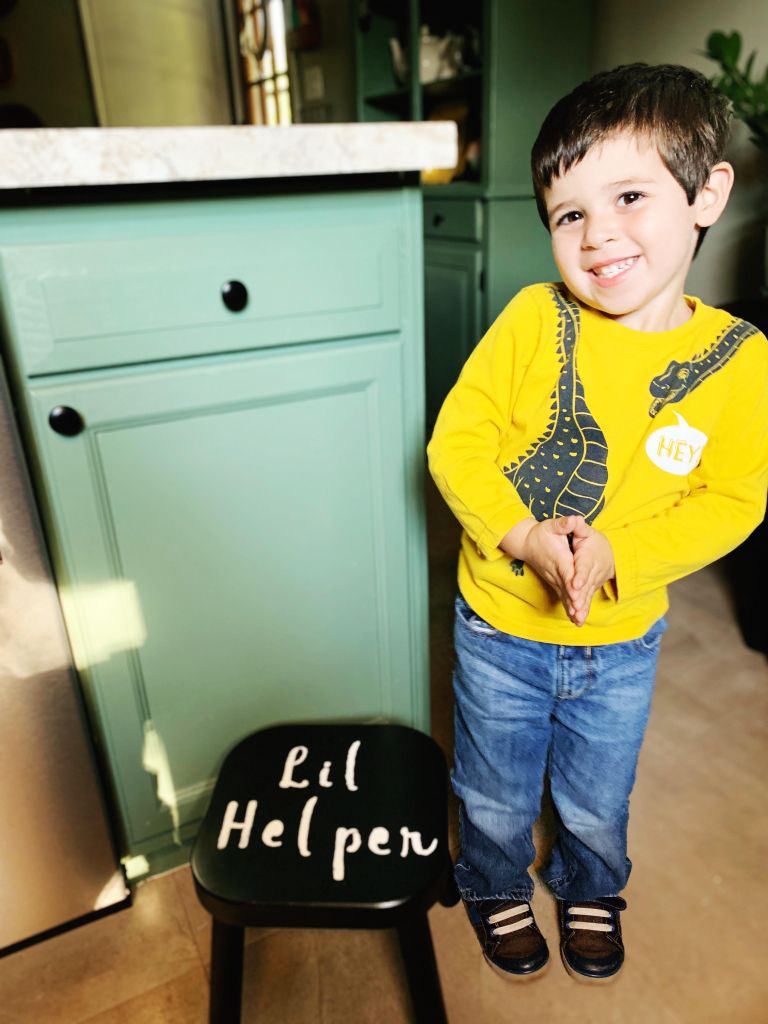
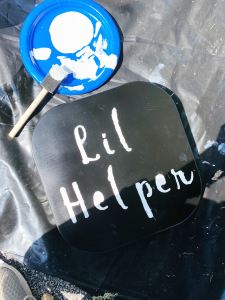
Once all of the black paint was dry, I let my son help me stencil on the white lettering. We chose for ours to say “Lil Helper” but you could do anything – “Kitchen Aid” or a kitchen saying or “Sous Chef” or whatever works for you!

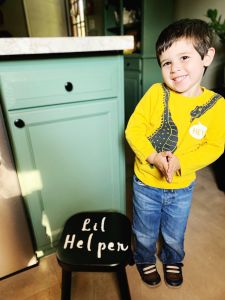
Once the white paint was also dry, I did touch up with a paintbrush and black around the edges of the letters. Then I screwed the legs on, and we were all set!


My little man is so happy to have helped with this – and to reach the counter! And it was all done in a day!

Kickin’ Chicken & Veggie Pasta

I have been really wanting some pasta – but something different. Today, I decided to get a little creative with dinner. (Thank goodness it turned out okay because what else was I going to share on the blog today?!)

I want to share a slightly spicy, veggie-heavy, light-sauced chicken and pasta recipe with you!

You’ll need:

  • 2 thawed chicken breasts
  • ½ box of fettucine noodles
  • 1 small can of mushrooms
  • 2 bag of frozen California blend (carrots, broccoli, + cauliflower)
  • ½ bag of frozen corn
  • ½ teaspoon of garlic powder
  • 1 tablespoon of crushed basil leaves
  • 1 tablespoon of red pepper flakes (cut to ½ tablespoon if you don’t like the heat)
  • ¼ cup of olive oil + some to drizzle
  • 1 cup of finely shredded parmesan cheese
  • salt + pepper

Preheat your oven to 350F.

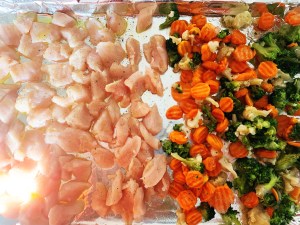
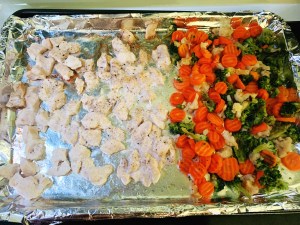
Line a baking sheet with tinfoil, spray lightly with non-stick spray. Cut up your chicken into bite-sized pieces. I use kitchen scissors to easily cut mine into the size I want. Spread these bite-sized pieces out on about two-thirds of your pan.

In the remaining third of your pan, spread out the contents of your frozen California blend.

Drizzle olive oil on top of the chicken and veggies, and sprinkle a light dose of pepper over it all as well.

Cook it the oven at 350F for 22 minutes.

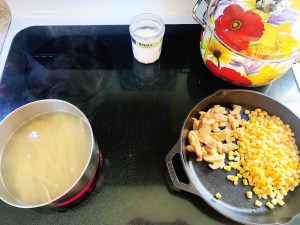
As the chicken and veggies cook, cook your fettucine noodles on the stovetop. Boil in salted water until they are al dente.  Then drain – but save about a quarter of a cup of the salted water they were boiled in.

In a skillet, cook your frozen corn and mushrooms (drain the can), on low. Once the corn is no longer frozen, add in the water, the quarter cup of olive oil, and the cup of cheese. Also add in your garlic powder, crushed basil leaves, and red pepper flakes. Cook on low until the cheese melts and the concoction is heated throughout.

Here’s what each aspect of the dish looks like before you assemble it for dining.

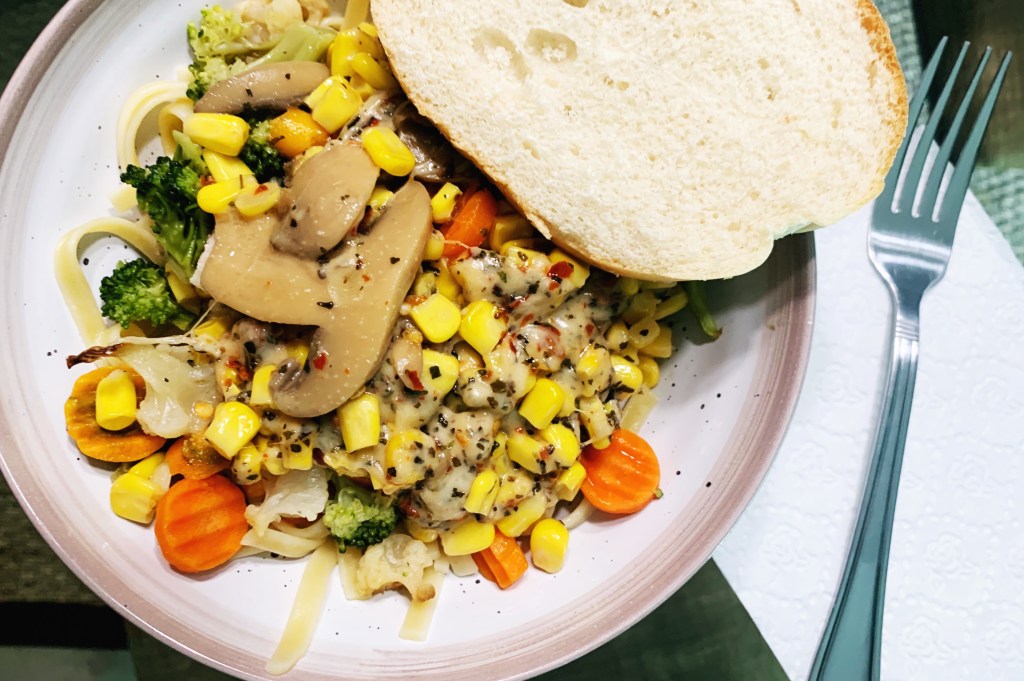
Serve in a pasta bowl, layering noodles, then chicken and veggies, and then your mushroom and corn in the light, cheesy sauce.

Enjoy with a warm slice of bread!
Comment below if you have tried something like this before – I’d love to hear from you.