Wedding Tips + Tricks – 1 Year After

In honor of our one year anniversary today (12/4/22, wedding on 12/4/21), I wanted to share a few quick tips for a budget-friendly wedding!

#1: Decorate your own grocery-store cake.

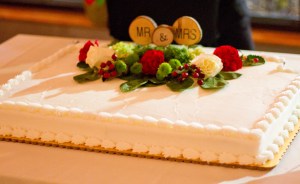
We went to our local Food City and ordered a full sheet cake, half white cake, half chocolate. We asked for it completely plain – white frosting with outer edge piping in white only – no other decorations.

I purchased a cake topper online; for our December wedding in the foothills of the mountains, we chose a natural-looking wooden topper. We added fresh flowers, using a seasonal bouquet from the same grocery store on the day we picked up the cake. I carefully arranged the flowers around the topper the night before the wedding and stored it in our venue’s kitchen fridge overnight.

I think this looked absolutely beautiful, and it cost us less than $100, counting the topper and floral pieces.

Also – a full sheet cake was MORE than enough for our reception, which was under 60 guests in size. We probably could have done a half sheet cake, but we wanted to be safe and went with the bigger size.

#2: Use grocery store flowers for DIY centerpieces.

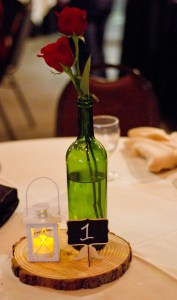
We used wood slices (purchased online), mini lanterns (gifted by my sister filled with remote-controlled faux candles we purchased from Amazon), table numbers (written on mini chalkboards), and wine bottles (emptied and gifted by my mom and my “extra mom” Angi). The night before the wedding, we purchased a couple bouquets of red roses from the grocery store when we picked up the cake.

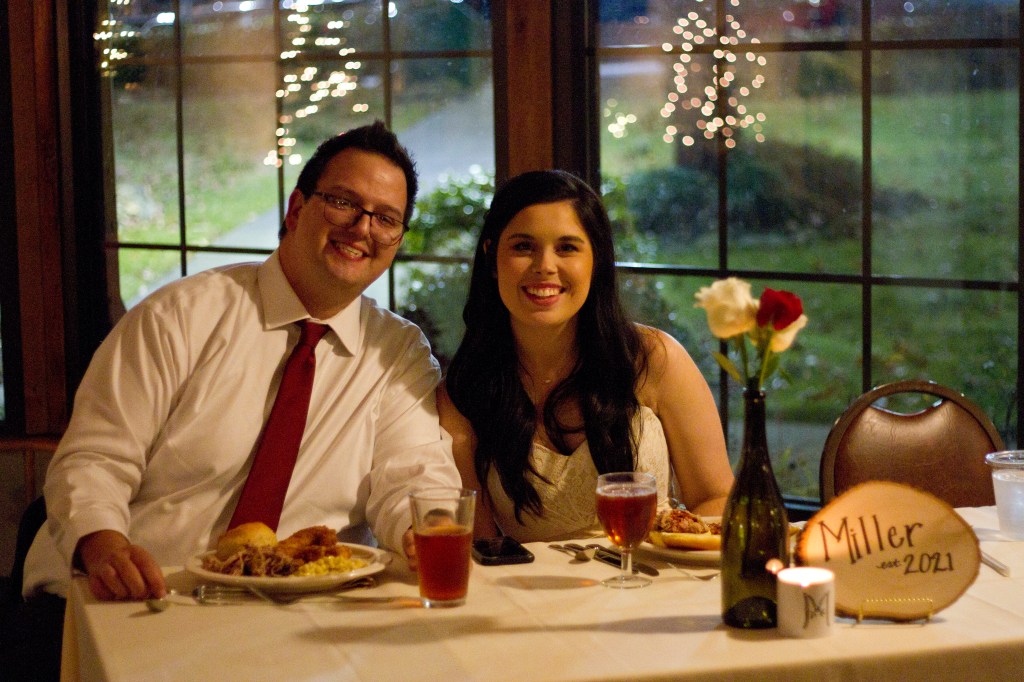
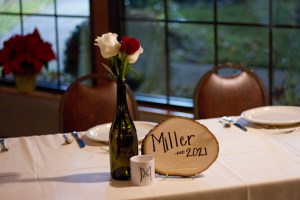
We did do a slightly different centerpiece for our table, which was a sweetheart table with our son added with us. We used two white roses and one red rose at our table and a wood slice sign I made that had our last name and year of our wedding instead of a table number.

These turned out beautiful! My father-in-law helped us set up the night before and because they sat in the water overnight, they had opened up just slightly, as photographed here, and looks beautiful the next evening by reception time.

Pro Tip: Don’t order your flowers from Sam’s Club online if you need them in a specific color. We attempted to order carnations, but they arrived in the wrong colors and we punted to the grocery store roses, which ended up working our way better! We did find a use for the Sam’s Club carnations – we used them in our morning-of rehearsal breakfast in the centerpieces and then some by the guest book in the church narthex. They were beautiful and fresh looking, but just the wrong color. (If you are using lots of colors or aren’t picky about the color, these would probably work for your event. They were cost effective but just came pink instead of burgundy/red.)

#3: Make your own favors.

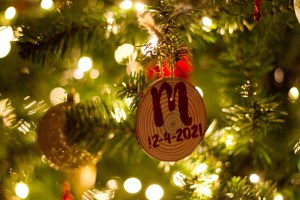
Because we had a December wedding, we decided our favors would be Christmas tree ornaments! I ordered small wood slices online, drilled holes, and used an Etsy-ordered stencil with our last-name monogram and wedding date.

I hand stenciled each in a deep red/burgundy color to match our wedding color. For an extra bit of flair, I put them in coordinating organza bags.

We also added Moon Pies to our favor bags to fill space and offer a little East Tennessee treat for our guests.

I put our ornament on our tree this year, and it made me want to scroll through all of our wedding photos again! (Perhaps I owe this blog idea to the ornament stirring up the memories!)

What other tips and tricks for a beautiful, but budget-friendly event do you have? Share below in the comments section – I’d love to hear from you!

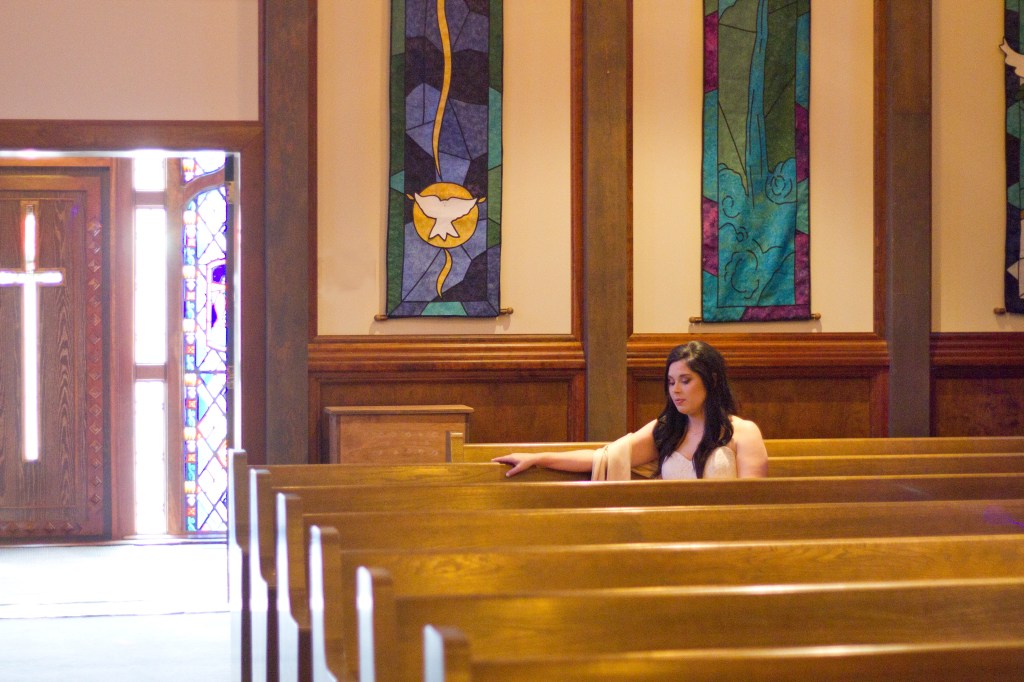
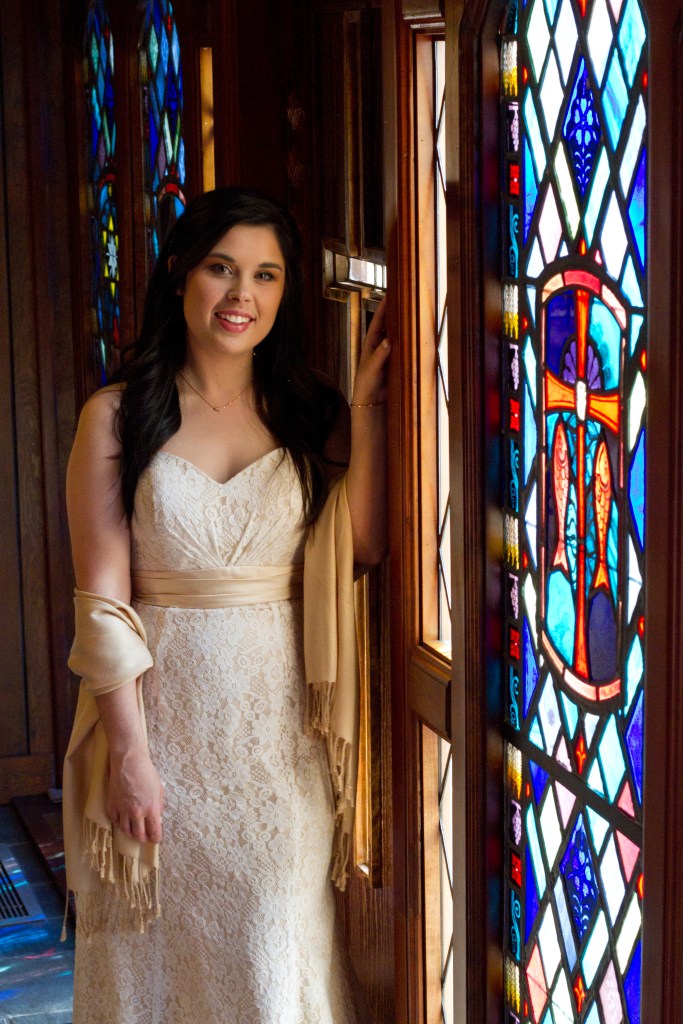
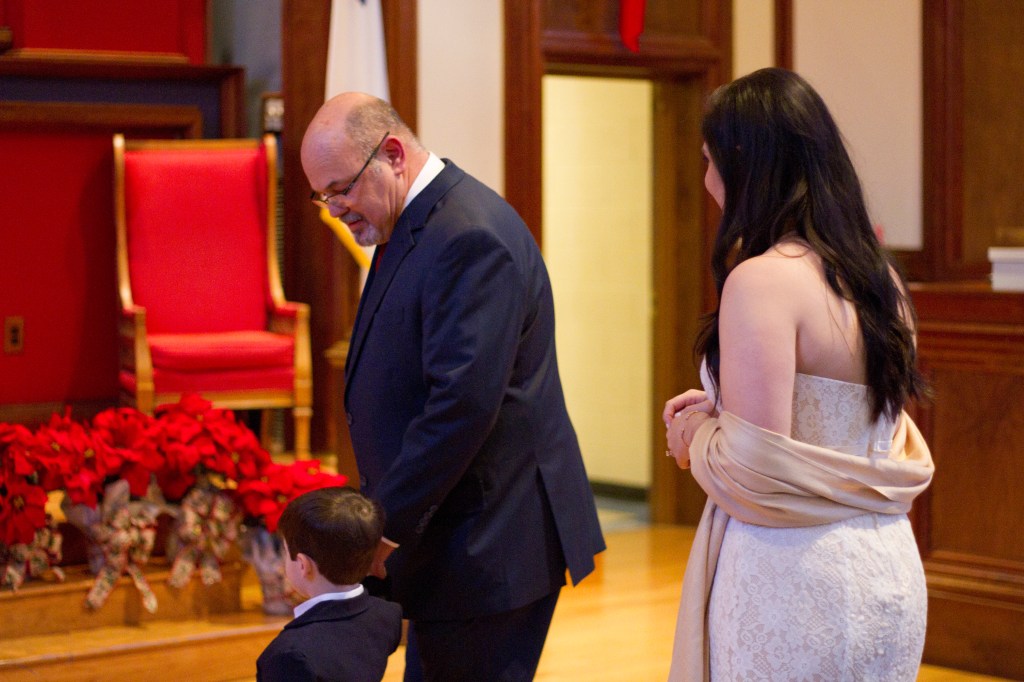
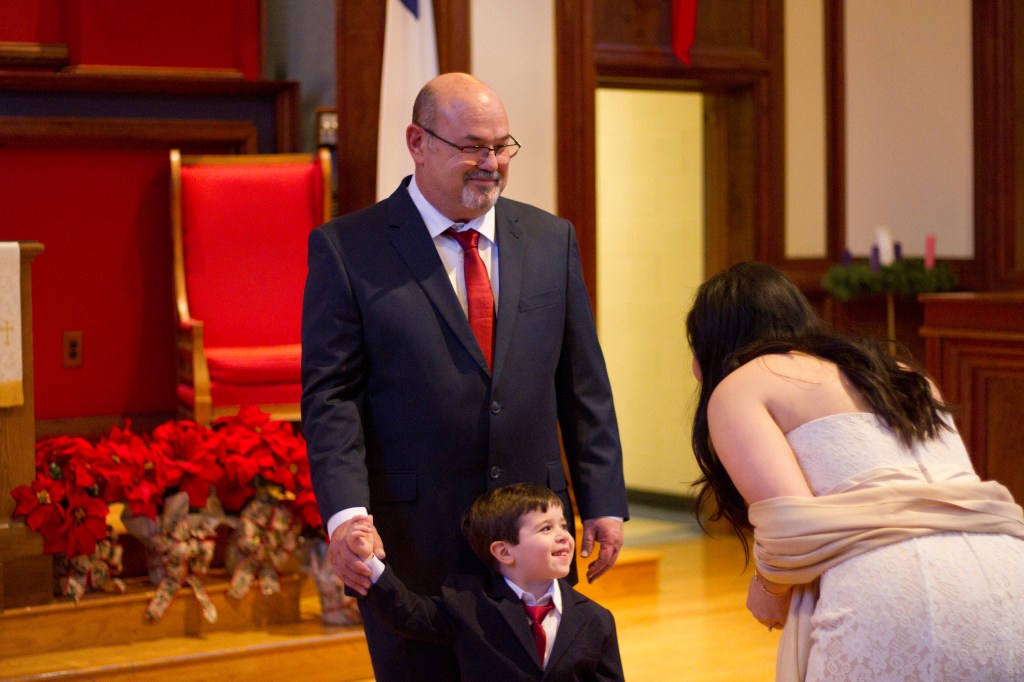
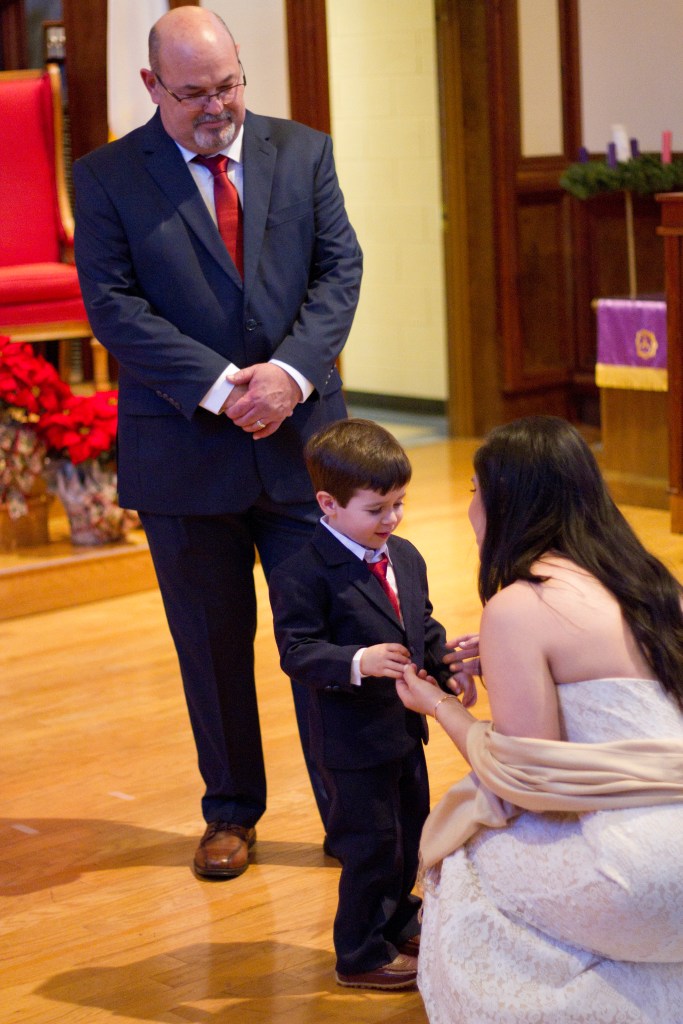
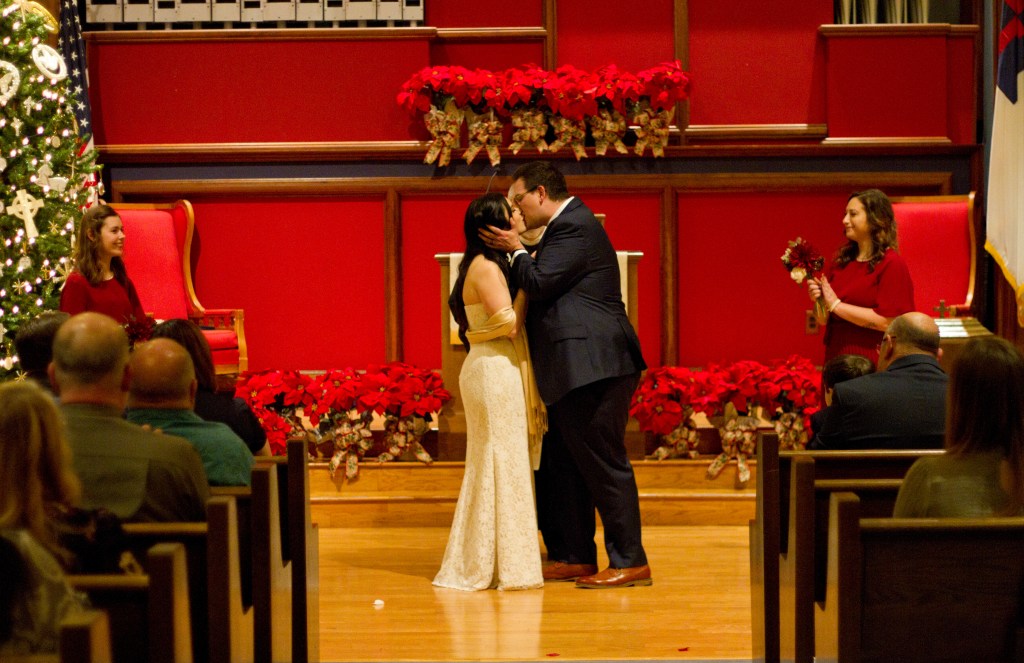
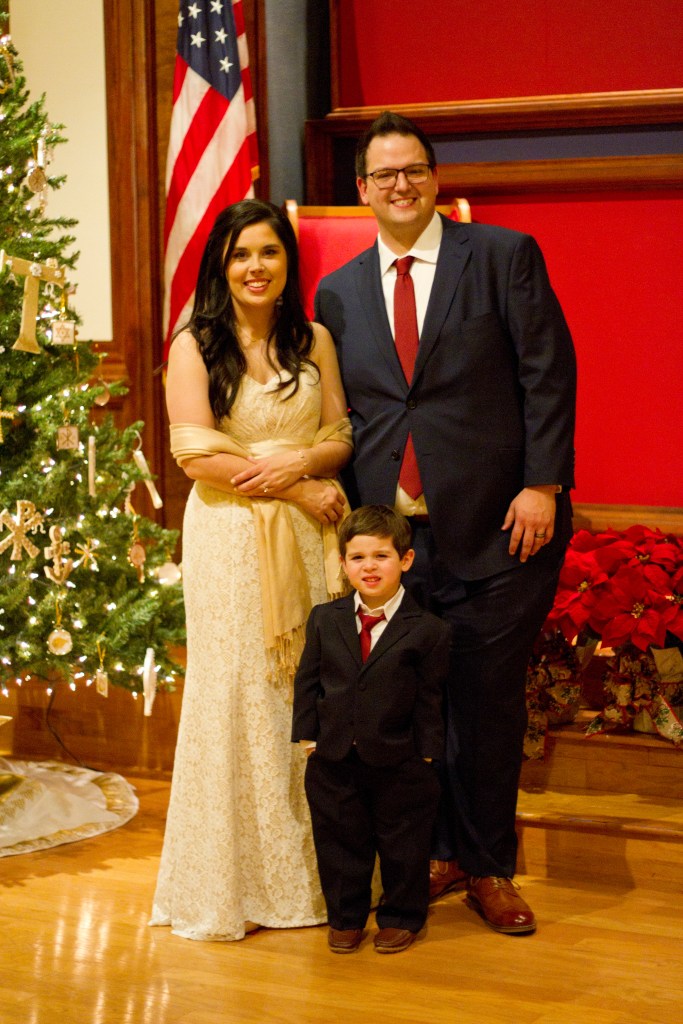
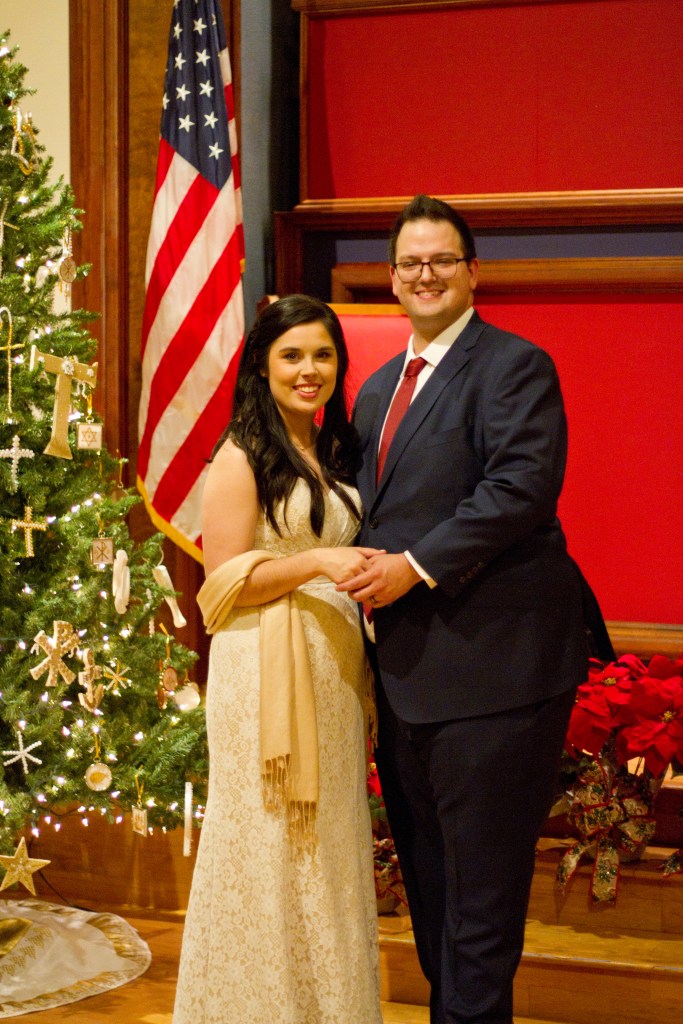
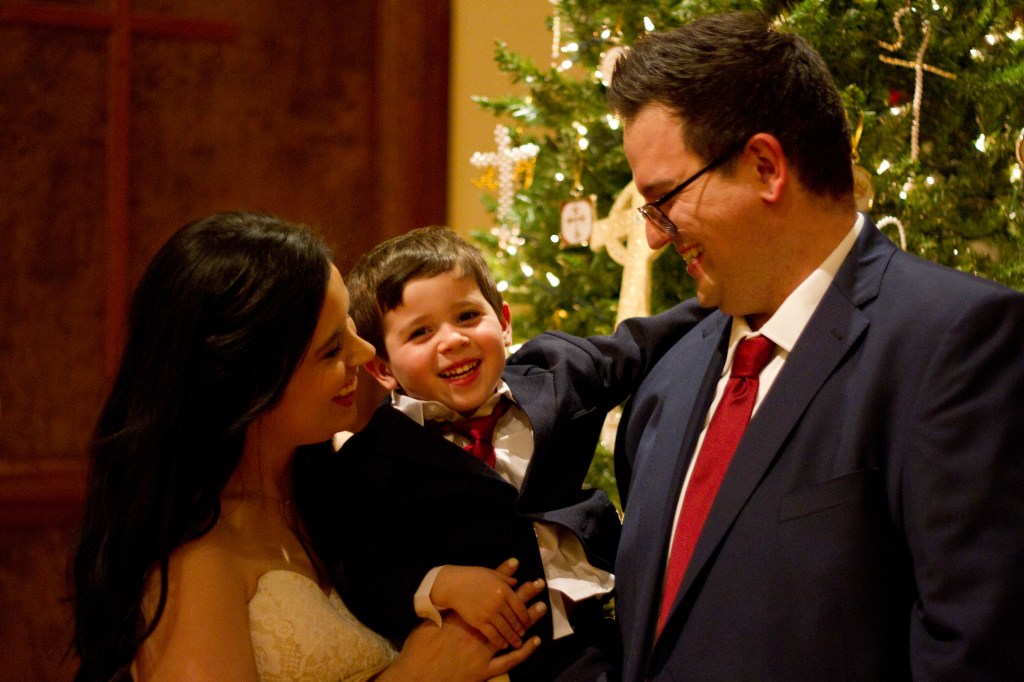
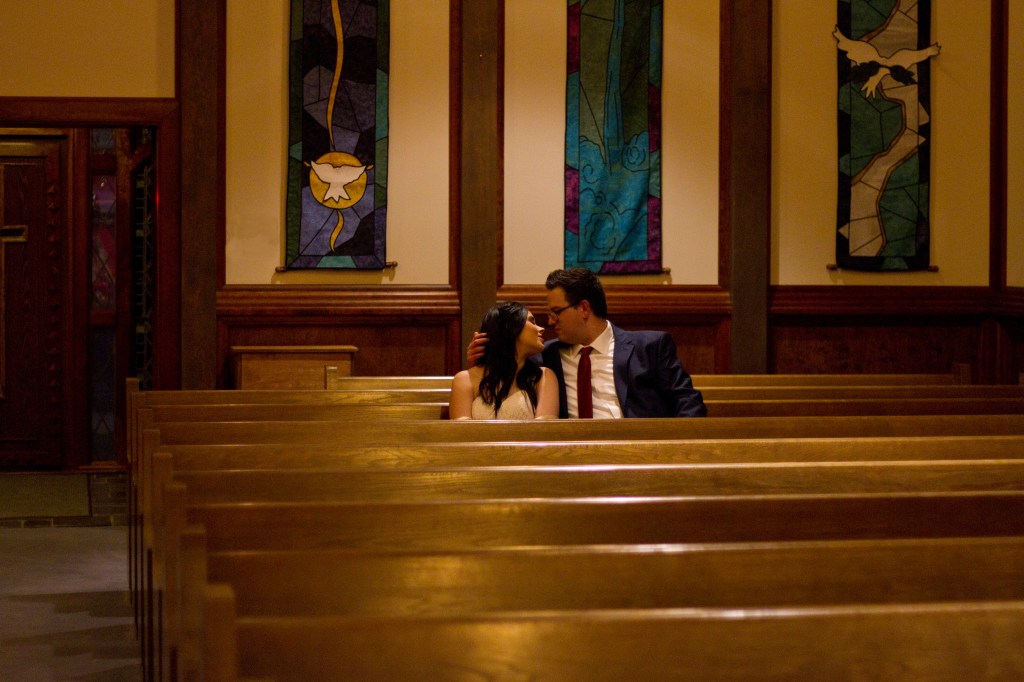
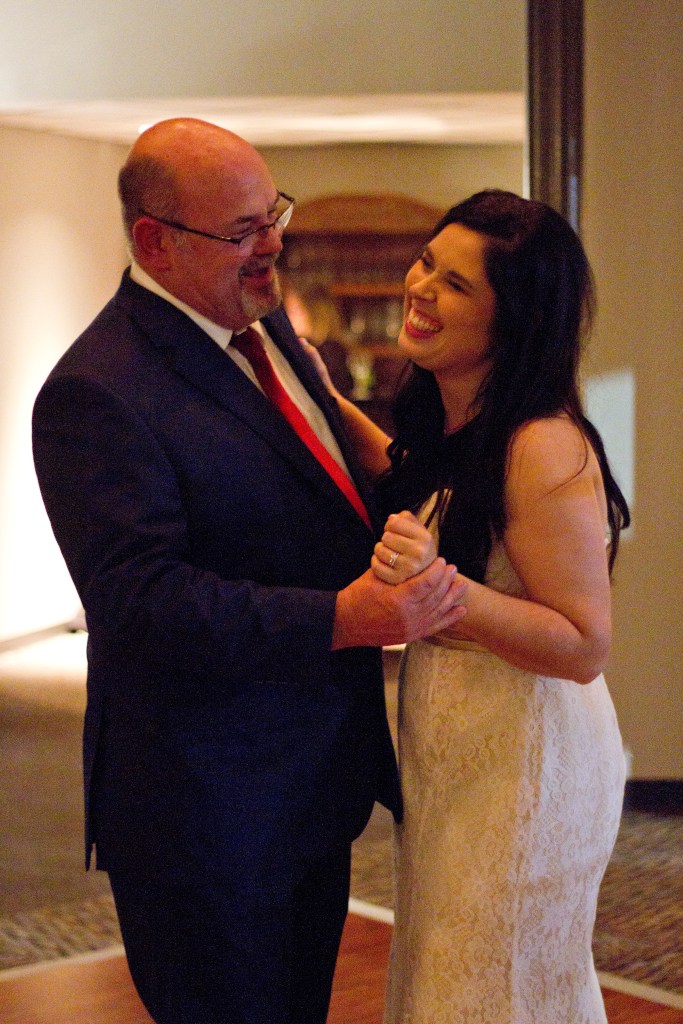
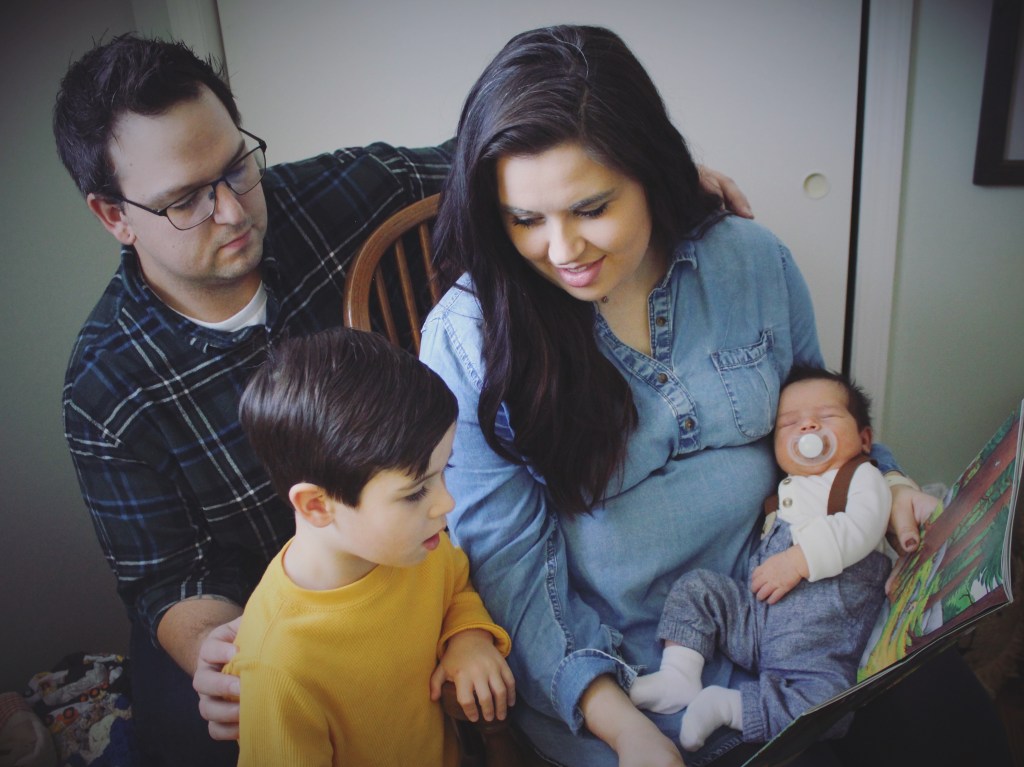
Since it is our anniversary, I also wanted to share some of my favorite photos from our day, exactly one year ago! Big thanks to Kayla Williams Photography – one of my besties – who captured our day for us.

Announcing Teddy!

If you have been following me on social media, you know that we were eagerly anticipating our baby boy for most of 2022.

He has officially arrived! Theodore “Teddy” Miller came on the evening of November 7, weighing in at 10 pounds on the dot! (And no, we didn’t have a c-section; he was born after induction only 2 days before his due date.)

We are so grateful for all of our family and friends who showered us with love and prayers as we awaited Teddy’s arrival.

We are especially thankful for the gorgeous shower that my sister, mom, and “extra” moms and sisters threw for us, and are also so grateful for the many handmade blankets and the diaper drive we received from our church.

If you missed glimpses of our pregnancy on my social media accounts, here are a few of our maternity photos we took and edited ourselves!

We have been settling in at home, as a family of four, for a few weeks now and are excited to share lots of photos of our family with you now.

Big thanks to my husband, Jake, and my sister, Samantha (of Samantha L Doyle Artwork), for their photography work! The first 7 photos were taken in the hospital by Jake, and the remaining were taken in our home by Samantha.

Enjoy these photos from Teddy’s first few weeks!

DIY Baby Gender Reveal

If you follow me on Instagram or Facebook, you know that we threw a little gender reveal party! Essentially, the party was to create excitement for our toddler, AJ, as he gets closer and closer to being a big brother.

Jake and I wanted to find out about the baby’s gender in the ultrasound room as a couple. There’s something special about finding out as you’re looking right at your baby – and we wanted to have that special moment.

But we also wanted to make sure that Big Bro AJ was the first to know outside of us and our OB. (We are working so diligently to try and include him as much as possible, particularly since his adjustment from being an only child to a sibling is coupled with the fact that he has a visitation schedule and a two-home situation that his sibling will not have. We are learning that blended families like ours need extra care in some ways!)

Luckily for us, our ultrasound and anatomy scan was scheduled for a Tuesday morning – and we always get Little Man on Tuesday afternoons, so it was perfectly timed!

When the ultrasound technician told us, “it’s a boy,” that morning, I laughed and Jake said “oh my gosh, really?!”

When we first found out we were expectant, I assumed it was another boy – I have for years assumed and felt that I would be an all-boy momma. But the more that I started to show and dealt with symptoms, the more I wondered if I was wrong – this pregnancy has been so different. That, and several of our family members who have had girls said “it’s for sure a girl.” Jake himself thought it might be a girl, too. So we went in assuming pink and frills.

But my initial reaction was right – I’m a boy momma! We are so thrilled and haven’t stopped giggling and grinning about it since. And, honestly, we’ve been thanking God a lot for the financial blessing, because we have some of AJ’s baby clothes and items that will work perfectly for this baby.

To share with our older son, we wanted to create a lot of excitement. We decided that we WOULD do a gender reveal – but we’d center it around AJ and surprising him.

For months, when someone asks if he wants a boy or girl, he’s been saying “we don’t pick, God picks.” My momma heart could just melt at how precious he is. But deep down, he’s admitted that he wants a brother – but that he’d be excited if it was a girl too.

So we went affordable and DIY with our gender reveal. I bought almost everything from Dollar Tree – wooden animals, paint, a frame, a cake topper, cupcake mix and icing, clothes pins, and dessert plates and napkins. I did buy some pink and blue question mark cupcake toppers from Hobby Lobby, and I bought a wooden stand and plaque from Dollar General, too.

Before the big day, while Little Man was on visitation with his father, I painted the wooden accents: some animals and a frame. I used cheap Dollar Tree brushes to paint the wooden animals pink and blue, and then I used q-tips to make polka dots of the opposite color on each animal.

On the frame, I dry-brush painted it gray and used the q-tips to make both pink and blue dots. I printed a copy of an ultrasound photo and put it in the photo opening.

I also painted a wooden plaque half pink and half blue. When it dried, I wrote in sharpie, “Pink or blue, either way we love you!” Then I got glued the plaque to the slatted wooden stand.

I also painted clothespins blue and pink and used a chalkboard sign I already had to instruct our guests to “wear their guess.” I stuck a pink and a blue cupcake topper to the sign for extra decor.

All of this decor cost me around $20 – and a lot of it can be reused. We can reuse it if a friend or family member has a small reveal, or we can repaint and repurpose! My sister has graciously offered to throw us a shower in the early fall – for things I didn’t get to keep when AJ was littler due to the divorce, for things we need to restock on, or for things that we hadn’t needed last time – and since the nursery theme is safari animals, she’s wanting to do the same theme for the shower. We can repaint these wooden animals to match the shower if she wants!

Dollar Tree also had Pillsbury cupcake mix and icing – and they even had pink and blue icing! (I grabbed these items before we knew, so I still have a tub of unused pink icing in the pantry!)

I made the cupcakes as soon as we got home from the doctor’s so they could be ready for that evening.

I baked the cupcakes according to instruction. Once they cooled, I used a spoon to scoop out the middle of each cupcake. Then, using a plastic bag with the tip trimmed off, I dropped a small dollop of blue icing in the center. I then used a bag of white vanilla icing to completely cover the cupcakes and blue icing.

Here’s a peek at our whole setup for the gender reveal party! We decorated just the island in the kitchen since it was just a dessert reveal in the evening.

We invited my parents, Jake’s parents, and our sisters (and my bro-in-law). Jake’s sister had a work exposure to COVID so we had to send her a video of the reveal – but we are so grateful that she was cautious with us having a toddler who had just overcome RSV and a baby in utero.

We had everyone gather around and let AJ take the first bite of cupcake!

He is so excited to welcome his little brother in November! Theodore Jacob Miller – AKA “Teddy” – is already so loved!

Last Minute Father’s Day DIY

Father’s Day is TODAY!

Well, in our family, we celebrated yesterday. I like to call the Saturday before Father’s Day “stepfather Saturday” because Jake is an amazing stepdad and deserves to be celebrated, just as much as any biological dad.

The Saturday immediately before Father’s Day, for two years now, we have had both of our dads (plus last year some extended family) over for a cookout so that Little Man can celebrate all of the men in his life on this side of his family. Then, at 8 PM on Saturday night, he goes with his biological dad for the more traditional Father’s Day holiday.

(Technically, we probably won’t always be able to celebrate the day before – the past two years, the weekend of Father’s Day has fallen, on the custody rotation, on “our” time with Little Man. If, some year, it does not, we will have to just celebrate the weekend before or after instead.)

Since we have already gifted Jake with his presents from our little guy, we can now share this DIY gift idea! It’s a quick one, so if you’re needing a last minute gift from your kiddo to their dad, stepdad, or grandfather, this will be a good one!

You’ll notice that Little Man made two – one for Jake and one for his father. I’m in the business of raising a thoughtful young man – and that includes helping him to think of people that may be outside of my comfort zone. It’d be wonderful if I could say “that’s just how we coparent,” but that’s not really true; coparenting has been challenging, and holidays are no exception. I have very seldom been remembered on holidays or celebratory days by the other side of my son’s family – and that’s okay, because that’s not my purpose for helping him be thoughtful toward his father. My goal is to make sure that I raise a boy who is thoughtful and who loves giving more than receiving. (I should note that I am very fortunate to have a husband who makes sure that I am always remembered on special occasions and who fully supports and participates in my endeavor to raise AJ with thoughtfulness and selflessness as key character traits.)

So I want to share what we made as a Father’s Day gift with each of you! I got the supplies at Dollar Tree, so it’s very affordable – and it’s easy for a little one to do with guidance. For reference, my son just turned four a few weeks ago, and this project was definitely age appropriate for him!

Here’s what you need:

  • Canvas board (or paper)
  • paint (green, brown, red)
  • paint brush
  • Q-tip
  • sharpie
  • paper plate

First, I poured green paint onto the paper plate. Then I dipped my toddler’s hand in the paint, and then positioned it on the upper center of the canvas to create a full green handprint. The green handprint will serve as the top of the apple tree.

Then, after washing the green off of his little hand, I showed my toddler how to make a streak of brown paint under the green treetop to serve as the trunk. After one example swipe of the paintbrush, AJ was able to mimic it a few times to complete the tree trunk.

Next, I dipped the Q-Tip in red paint and showed my son a few example dots in the green paint to look like little apples in the tree. Again, he was able to do this easily after a couple short examples.

As the paint dried, I used a sharpie to write on the canvas – I jotted a Father’s Day message, the date, and a to and from. I let my son write his own name, since he’s been working on this already and doing a fairly good job!

When they dried, we wrapped the gifts accordingly. AJ gifted Jake’s to him today, and then took the other to his father for their Father’s Day celebration.

(If you need the paint to dry fast for a day-of gift, I suggest using your hair dryer!)

Here’s the final result!

What do you think? Have you done any recent DIYs or projects for Father’s Day? I’d love to hear from you in the comments below!

Baby on the Way!

If you follow me on Instagram or Facebook, you’ve heard the news… Baby Miller is on the way!

We are so excited to be expecting the next member of our family. We wanted to formally share here on the blog, too. 

AJ, our almost-four-year-old, is so excited to be a big brother. While he says he wants it to be a boy, he keeps referring to the baby as a she/her… So it sounds like either way, he’ll be happy! (Us, too!) 

Announcing the News to Family

Our simple announcement was so easy and still so fun. We found out on Ash Wednesday morning, and we kept the secret for a little while. We told AJ that I wanted a photoshoot of him with his DC superheroes, and he was all about it. I prepared our letter board with a cutesy superhero message, and found myself grateful that, while he can identify several capital letters, AJ can’t read yet! 

We posed him and got a few pictures with my Nikkon camera, which I quickly edited just a little on the laptop and sent to Walmart’s photo website for prints. (Their basic 4×6 photos are just nine cents a piece, so this was a bargain!) We ordered copies for ourselves (hello, baby book), a copy for our parents, and a copy for our sisters. 

We did tell the Big Brother to Be before we told our families – it was important to us that he got to know first – we want to be really intentional about including him in every aspect that is appropriate, since this is step #1 in our blended family.

As for sharing with our parents and sisters… We were getting together with my family on my birthday and with Jake’s family that following Tuesday to celebrate my 31st birthday anyway, so we decided to mix in our announcements with those visits. 

We told them we had updated photos of AJ for them and handed each set of parents and each sister envelopes – and then watched their faces as they realized the big news we were sharing! 

Projects to Come 

We are eager to get projects done as we prepare for Baby Miller! Jake has already patched drywall and painted in the nursery – and he’s added new outlet covers and assembled AJ’s old crib and a new cart for diapering supplies. 

I can’t wait to show you all of the various things we plan to do for the baby – so we’ll be sure to share here on the blog as we get projects done!

For now, here’s a photo I’ve already shared on Instagram of our nursery thus far – and, by the way, I got a great deal on that Diaper Genie – you can check out this social media post for the details.

Sharing the Journey 

If you came here for the ultrasound pics, I promise I won’t disappoint!  We’ve had a few ultrasounds already, so here are our favorite images from our 8 week, 10 week, and 12 week ultrasounds. 

Once we have our 20 week ultrasound, we’ll know the gender – and we promise to share it with you – and to share how we tell Little Man and our families! Stay tuned!

Q-Tip Polka Dot Painting

We’ve had some severe rain the past few days – so much so that the school I work at was closed early yesterday and out completely today for flooding in the county. When I’m off work and Little Man is home, I keep him home with me to capture any additional time with him that I can.

It’s so soggy outside today that there’s no way that we could play on the swing set or chalk. So I thought we could paint instead!

My toddler loves to paint – and lately, he’s been really interested in his children’s Bible. We are regular church attendees (I’m actually on staff at my church as Director of Youth & Young Adult Ministries), and when he’s with me for the weekend, he always goes and he attends children’s Sunday school, too. He is great at praying before dinner and before bed, and he remembers a lot. So his new interest in his children’s Bible isn’t surprising to me, but it sure does make me proud!

After we read a story, I try to be really intentional about having him share what he remembers and adding additional questions to help him connect with the story. For example, when we read about creation, I asked him how many days it took God to create the world – I repeated that question at random times until he could tell me, “6 days and on the 7th day, God took a nap.” Close enough! For Adam and Eve, he can tell you that Adam was the name of the first boy and Eve was the name of the first girl; he remembers that they were tricked by a snake, and they were tricked into eating the fruit of good and evil, which is exactly how his children’s Bible phrases it.

So we recently read about Noah’s ark. He can tell me that Noah built an ark, which is a boat, and that God told him to bring 2 of each kind of animal. What didn’t stick well with him at first was the rainbow.

Today, I thought that we could talk about what comes after the rain – since we’re living a mini version of it! So I shared what a rainbow is, and why God put a rainbow in the sky when Noah left the ark with all those animals. And we painted a rainbow… with Q-Tips!

Here’s what we used:

  • A black sharpie
  • White paper
  • Q-Tips
  • Washable paint
  • A paper plate

I did a rainbow piece myself first so he could observe before I let him loose with paint. I find he does well watching to learn, then receiving instructions as a reminder when he does it himself. I’ll show you my process first, then his project.

I started by drawing a quick, three-banded rainbow on paper with the Sharpie. (No, my three-year-old does NOT get Sharpies – haha.) I set up my paper plate with the three colors I wanted to use, as well as one clean Q-Tip per color.

Then, I dipped a clean Q-Tip into one color of paint and filled in the first row of my rainbow with dots. I didn’t fill in completely because I like the feel of the polka-dot look.

Then I repeated this process for all three bands before coming up with my final piece of Q-Tip artwork!

When it was his turn, AJ selected his own three colors – red, yellow, and blue. Not traditionally side by side for a rainbow, but he’s three, and I’m thankful he knows his colors and has a steady hand for this activity, so we’re not fighting the color wheel battle today.

Overall, he did a great job of staying in the lines and getting through the process! We talked a lot about Noah while he painted, and he seemed to really enjoy it.

In fact, at the end, he told me he wanted to paint something else. Here’s a strawberry I doodled really quickly and let him paint – so this doesn’t have to be a faith-based activity if you don’t want it to – it can be for anything seasonal or that’s on-topic for school or at-home discussions you might be having with your kiddos.

What do you think of our quick Q-Tip art project? What kind of rainy-day activities do you do with your children? Comment below – I’d love to hear from you!

4-Ingredient Pico de Gallo

I love, love, love Mexican food! I love spicy, cheesy, fresh foods – so I am almost always down for Mexican food at a restaurant or at home.

My husband loves Mexican food too, but he’s not a huge fan of tomatoes or onions, so buying a tub of pico de gallo at the store isn’t always a wise investment for me – a big tub will go bad before it can all be eaten.

Tonight I was making stuffed Mexican peppers with rice and nachos, but I wanted some of the fresh taste of pico. So I decided to make my own pico de gallo with the veggies I had on hand!

This recipe is quick, easy, and you can adapt the amounts you use to fit however much pico you need for your table!

Here’s what I used:

  • 1/2 a large tomato
  • 1/2 of a small jalapeño
  • 2 thick slices of a red onion
  • 2/3 of a small sweet orange pepper

I started by chopping everything into really tiny pieces. I started with my onion, then my orange pepper, then jalapeños, and then tomatoes. I added each to the glass bowl as I chopped them.

You’ll want to chop your onion very small so the taste isn’t overpowering in every bite. And the jalapeño needs to be even smaller so you get the heat but not an overwhelming amount.

I did cut the center and seeds from both kinds of peppers, but didn’t cut out the softer center of the tomato.

I then stirred the entire bowl together until well mixed.

You can refrigerate it or use it right away to top your favorite tacos, rice bowls, or salads!

I used mine in my stuffed Mexican pepper mixture tonight. Next time I hope to use it on steak tacos!

Enjoy!

Strawberry & Chocolate Cookies

What says Valentine’s Day better than strawberries and chocolate?! The combination is a classic, particularly around this time of year. But I don’t know about y’all, but it’s been a challenge to find good strawberries in stock in my neck of the woods!


This year, I’ve combined the classic flavor combination in a different way – cookie form!

This is another cake mix cookie recipe, and it is SO easy, SO sweet, and SO perfect for celebrating Valentine’s Day! (With this sweet pink color, it’d also be perfect for a baby shower, wedding shower, or tea party-themed event.)

Here’s what you need:

  • 1 box of Strawberry cake mix (any brand)
  • ½ cup of oil
  • 2 large eggs
  • Approx ⅓ – ½ cup of white chocolate chips
  • Approx ⅓ – ½ cup of red M&Ms

Preheat your oven to 350F.

In a stand mixer (or in a bowl with a hand mixer), combine your cake mix, oil, and eggs. Mix until well blended. Then, add in your M&Ms and your white chocolate chips and blend lightly until they are dispersed fairly evenly. 

Chill the dough while the oven finishes preheating. When the dough is chilled slightly, scoop or ball the dough into roughly ping-pong sized mounds and place on a lined baking sheet. (The dough will be very sticky and may not round into perfectly formed balls – that’s okay – the cookies will bake just fine if they’re not perfectly rounded.)

Bake at 350F for 11 minutes.

When done, pull out, remove from the pan with a spatula, and let sit on a cooling rack. The cookies should cool for several minutes before plating or eating.

Enjoy! 

These are SUPER sweet, so I do recommend a big glass of milk or something to cut the sugary taste. But they make the perfect Valentine’s dessert – so please enjoy with your family, loved one(s), or friends!

Check out my little one’s reaction to his first bite!

Chocolate Chip & Walnut Cake-Batter Cookies

Out of all of the desserts available to us in the world  – and, yes, I know there are a lot – I consider myself a true fan of two: ice cream and cookies.

My parents got my husband and me an ice cream machine for Christmas, so maybe, after we’ve had some time to practice with it and find our own favorites, we’ll share some recipes for that, too.

For now, my favorite cookies will have to suffice. If you’ve been around awhile, you know that I’ve shared a few different cookie recipes on here – chocolate chip peanut butter cookies, M&M cookies, and butterscotch walnut cookies. Two of the three recipes use a cake-box base, and today’s recipe falls right in line.

These are EASY cookies that anyone can make, in just a few minutes. They’re perfect for last-minute hosting, quick desserts, or to satisfy a sweet tooth.

Here’s what you’ll need:

  • 1 box of yellow cake mix
  • 1/3-1/2 cup of chocolate chips
  • 1/3-1/2 cup of chopped walnuts  
  • 2 large eggs
  • 1/2 cup of cooking oil

Start by preheating your oven to 350F.

As your oven heats, mix your cake mix, eggs, and oil together. You can mix these by hand, with a hand mixer, or with a stand mixer. I use the stand mixer. Your dough should be a sticky, yellow mixture.

Then, add in your chopped walnuts and chocolate chips and mix slowly until they are evenly dispersed. Roll into small ping-pong sized balls and place on a lined or sprayed cooking sheet.

Cook on 350F for about 11 minutes. You’ll know they’re done because they’ll be turning a light gold and the bottoms will be just browning.

Let them cool on a cooling rack for several minutes before plating and serving. These are so delicious – they have a thick, soft texture with the sweetness of the chocolate and the light crunch of the walnut. Enjoy with a glass of milk or a cup of coffee!

Oregano-Buttered Eye of Round Steaks

I love a steak dinner. Ya girl isn’t one to go out to a nice meal and skip the steak to look like a lady with a salad. No, no, no. I like a nice steak.

But let’s be real: I’m not buying filets for weekly dinners at home. I can’t afford that, and even if I could, I’d rather someone serve it to me in a restaurant. 

But I do have a pretty good solution for affordable steaks at home: eye of round steaks. A lot of people find eye of round steaks to be tough and lacking flavor, but I think they are totally redeemable and delicious when prepared thoughtfully. And I think they’re fairly forgiving if you overcook just a touch when prepared with this oregano flavored butter.

I typically purchase my eye of round steaks in a three pack at Aldi. These are super inexpensive and are a good size for us in my home. My toddler doesn’t eat steak, so these little steaks are perfect for Jake and me.

Here’s what you need:

  • Eye of round steaks
  • 2-3 tbsp of butter
  • Sea salt
  • Black pepper
  • Oregano

First, melt about 2 tablespoons of butter in a glass bowl in your microwave. Then, sprinkle in salt (to taste), pepper (to taste), and oregano. Go heavy-handed on the oregano so you get that bold, earthy flavor in your hot melted butter.

Melt some butter in your stovetop pan. I use a Lodge Cast Iron Skillet to cook mine because I love cast iron (sorry to Jake who typically does dishes, but honestly, he loves the flavor this way too, so he’s not complaining).

As the butter is melting in your pan, use a silicone basting brush (mine is from Pampered Chef) to cover one side of your steaks in your oregano-flavored butter. 

Then, place your steaks, buttered side down, in the skillet. On this upward-facing, non-buttered side of the steak, use your silicone brush to get the remaining amount of oregano butter sauce onto your main course.

Cook these stovetop and flip as needed until they are cooked to your liking. I have found that these are forgiving little steaks if they get a smidge overcooked. These aren’t gourmet in tenderness – but they are delicious in flavor, which is what matters when you’re cooking on a budget and have a genuine love for food.

I paired mine with homemade mac and cheese (click here for my recipe), a caesar salad, and a glass of iced tea.

I’d love to hear what you think if you try this recipe – or to hear how you make affordable and delicious dinners for your family! Message me via the comments below!