If you’re familiar with my blog or you follow me on social media, you know I have a long-standing and loving relationship with Italian foods. I love tomato sauce, noodles, Italian sausage, Italian bread – I love it!
My boyfriend is going to feel totally played when he reads this week’s blog – because he’s always bragging about this dish and I act like it’s a chore or something – but my go-to dish to really impress someone is homemade lasagna. Everyone always thinks it’s so difficult, but I think that’s because buying the frozen is so typical, not because the dish is actually difficult to make. (Okay, it can be a little time consuming, but it’s really not that challenging. I promise – you can do it, no matter what the freezer section of your local grocery store wants you to think!)
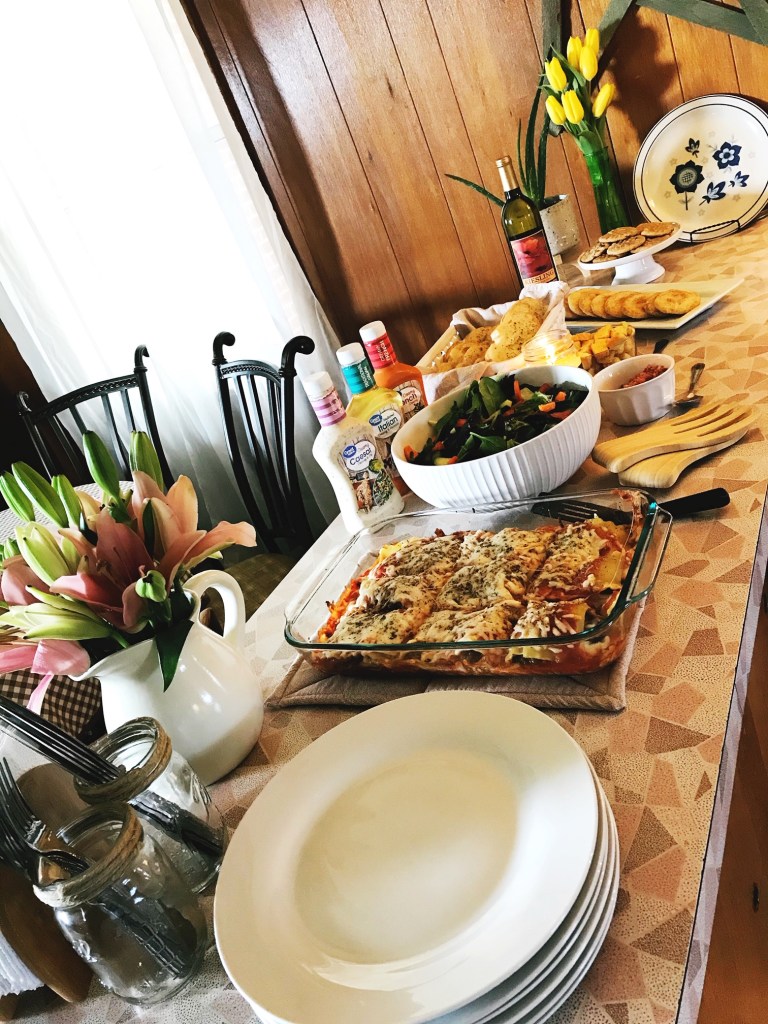
When I want to make someone feel special, if I want to feed a group of people, or if I’m just craving some good hearty Italian, lasagna is a go-to in my house. It’s warm, filling, and full of flavor.
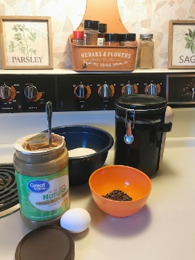
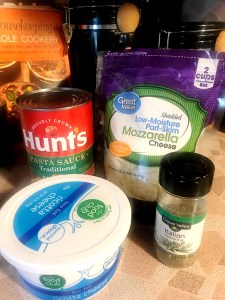
Here’s what you need:
- Lasagna noodles
- 1 lb ground Italian sausage
- Ricotta cheese
- Shredded mozzarella cheese
- Italian seasonings
- 1 can of Hunts pasta sauce
Side note: Anyone else notice how I use Hunts in every Italian-inspired recipe? They don’t sponsor me or anything, but I’m promoting hard. Love that stuff!
I’m using a 9×13 glass Pyrex pan most of the time, but sometimes I make a smaller one in a glass 8×8, and I just make heartier, thicker layers and use slightly less noodles.
Okay, so let me share a few things you gotta know if you’re going to make my lasagna.
#1 – You will dirty some dishes. I’m a tornado of a cook, but this dish allows for it because the lasagna has baking time, so there’s time to clean before people arrive or before you serve dinner!
#2 – We don’t do those “oven-ready” noodles. No, no, no. Not in this house, y’all. Cook your noodles stovetop in water the old fashioned way. Cook them and control their level of done-ness to your preference. (That’s not a word, but you knew exactly what I meant, didn’t you?)
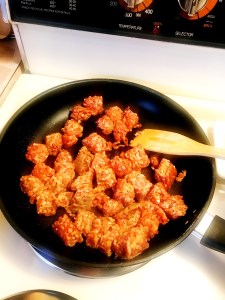
Okay! First things first: Start browning your Italian sausage in a pan on the stove top. You want the pieces small, but not totally minced. When you bite into that cheesy, saucy delightful dish, you want to KNOW there’s meat in there. So cook it, break it up, but don’t crumble it too much. About dime-sized on average is ideal.
When you’re cooking the meat and you’re almost done – it’s mostly brown with a little bit of pink – sprinkle in a few dashes of Italian seasonings. Let them cook in as you finish the meat.
When that’s done, drain it. There won’t be a ton of grease, but you don’t want your lasagna to taste like ground-meat grease, so drain and set aside for a bit. Be sure you don’t rinse the meat though, or you might risk rinsing off the seasonings you added.
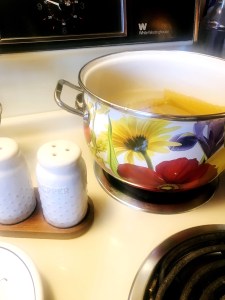
Next, boil your noodles to cook them. To know how many you need, you should pull out your glass baking dish and lay them out. (Break noodles carefully before cooking if you need them shortened to fit – either to fit your bakeware or your stovetop pot.) Always account for 3 layers of noodles in your dish and make 2-3 extra noodles – just in case. One always tears or sticks – or both!
I cook my noodles until they’re almost where I want them. I usually let them be al dente, meaning a little firm to the bite, so that they hold up well to the sauce and the heat of the oven.
Drain and rinse your noodles.
As your noodles sit for a second, preheat your oven to about 350F.
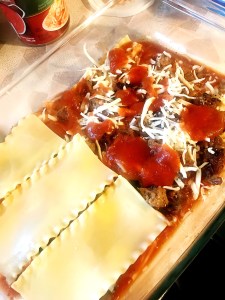
Pour a little bit of your sauce (and really – maybe 1-2 tablespoons max) on the bottom of your sprayed bakeware. Shift your dish so it spreads out evenly. It should be so thin that it’s see-through and more orange or pink than red.
Lay down your base of noodles. Think of this like a chunky toddler puzzle – big pieces but you’re still going to look goofy as you struggle to fit them together!
Once your base layer is laid down, take a scoop (using a small serving spoon or tablespoon) of ricotta cheese and plop it onto each row of noodles. Use the back of the spoon to smooth it out some so it’s spread as evenly as possible over the noodles.
Warning: Some people will tell you that you can substitute cottage cheese for ricotta cheese. These people are not your friends; take them off of your Christmas card list immediately. The taste and texture are both exponentially better with ricotta, and the cost difference between the two products in store brand is too minimal for you to be stressed about needing a substitution.
Next, spoon sauce onto your ricotta. Remember, you’re using one can of sauce, and it needs to be used for that tiny thin base layer, heaviest in the middle two layers, and a mild amount on the top, so keep that in mind as you spoon it in each step.
You’re going to then use half of your cooked ground Italian sausage and distribute it evenly. Next, sprinkle shredded mozzarella overtop of the meat. And, y’all, we like our cheese, right? So don’t be light-handed here! (But do remember you have two more layers to use it on.)
Now, repeat this first layer again to make your second layer. Noodle puzzle, ricotta spreading, sauce slathering, meat distributing, and cheese sprinkling galore!
For your top layer, you will need to make a layer of noodles again, then forgo the ricotta and skip straight to the sauce. Spread it evenly across the entire top. Then, heavily sprinkle that shredded mozzarella! Now, add Italian seasonings across the top.
Put this in the oven for approximately 30 minutes. Start with tinfoil for the first 20 minutes, then take it off for the last 8-10 minutes to let the cheese finish up.
Because everything’s already cooked, you’re really melting cheese and setting the dish, so it can go longer or shorter as you decide is appropriate, but about a half an hour is what I usually do.
Once I’m ready to pull it out of the oven, I wait a good 5 or so minutes for the dish to set before cutting and serving. If you’ve ever cut lasagna and it’s made a huge mess, you probably didn’t wait long enough after it was out of the oven before cutting into it. Cutting too early causes extra spillage of sauce and gooey cheese. You’re naturally going to have a gooey, saucy outcome with this recipe, but if you’re serving to your loved ones, you probably want it to look somewhat presentable, so I do suggest waiting that 5 extra minutes.
If you need something to do in your 5 minute waiting game, trying slicing up a loaf of Italian bread, drizzling olive oil over it, sprinkling on some garlic salt and Italian seasonings, and warming it in the oven on a sheet pan to then serve with your lasagna!
Enjoy!